Nonfiction often includes text features, aspects of a text that help make a text more accessible. Authors use these additions, like sidebars and charts, to help readers focus on important parts of a text and to organize the information. When readers know what text features are and how to use them, they’ll learn more from nonfiction text.
While text features should make reading easier, students do need instruction in how to use them, plus lots of practice. Here’s our guide to text features, including how to help your students navigate nonfiction like experts.
What are text features?
Text features are parts of a text that aren’t in the main story or body of text. They’re most common in nonfiction and help readers find information quickly and get more out of the text they’re reading. For example, a photo caption helps students understand more about what’s happening in the picture, so they understand that the photo is not of just some old guy on a boat, but of George Washington crossing the Delaware River, for example. Text features also help students efficiently navigate a text. A table of contents or a glossary allows them to get to the section they want without having to skim the entire text.
Learn more: How To Teach Nonfiction Text Features
Text Feature Examples
Table of contents
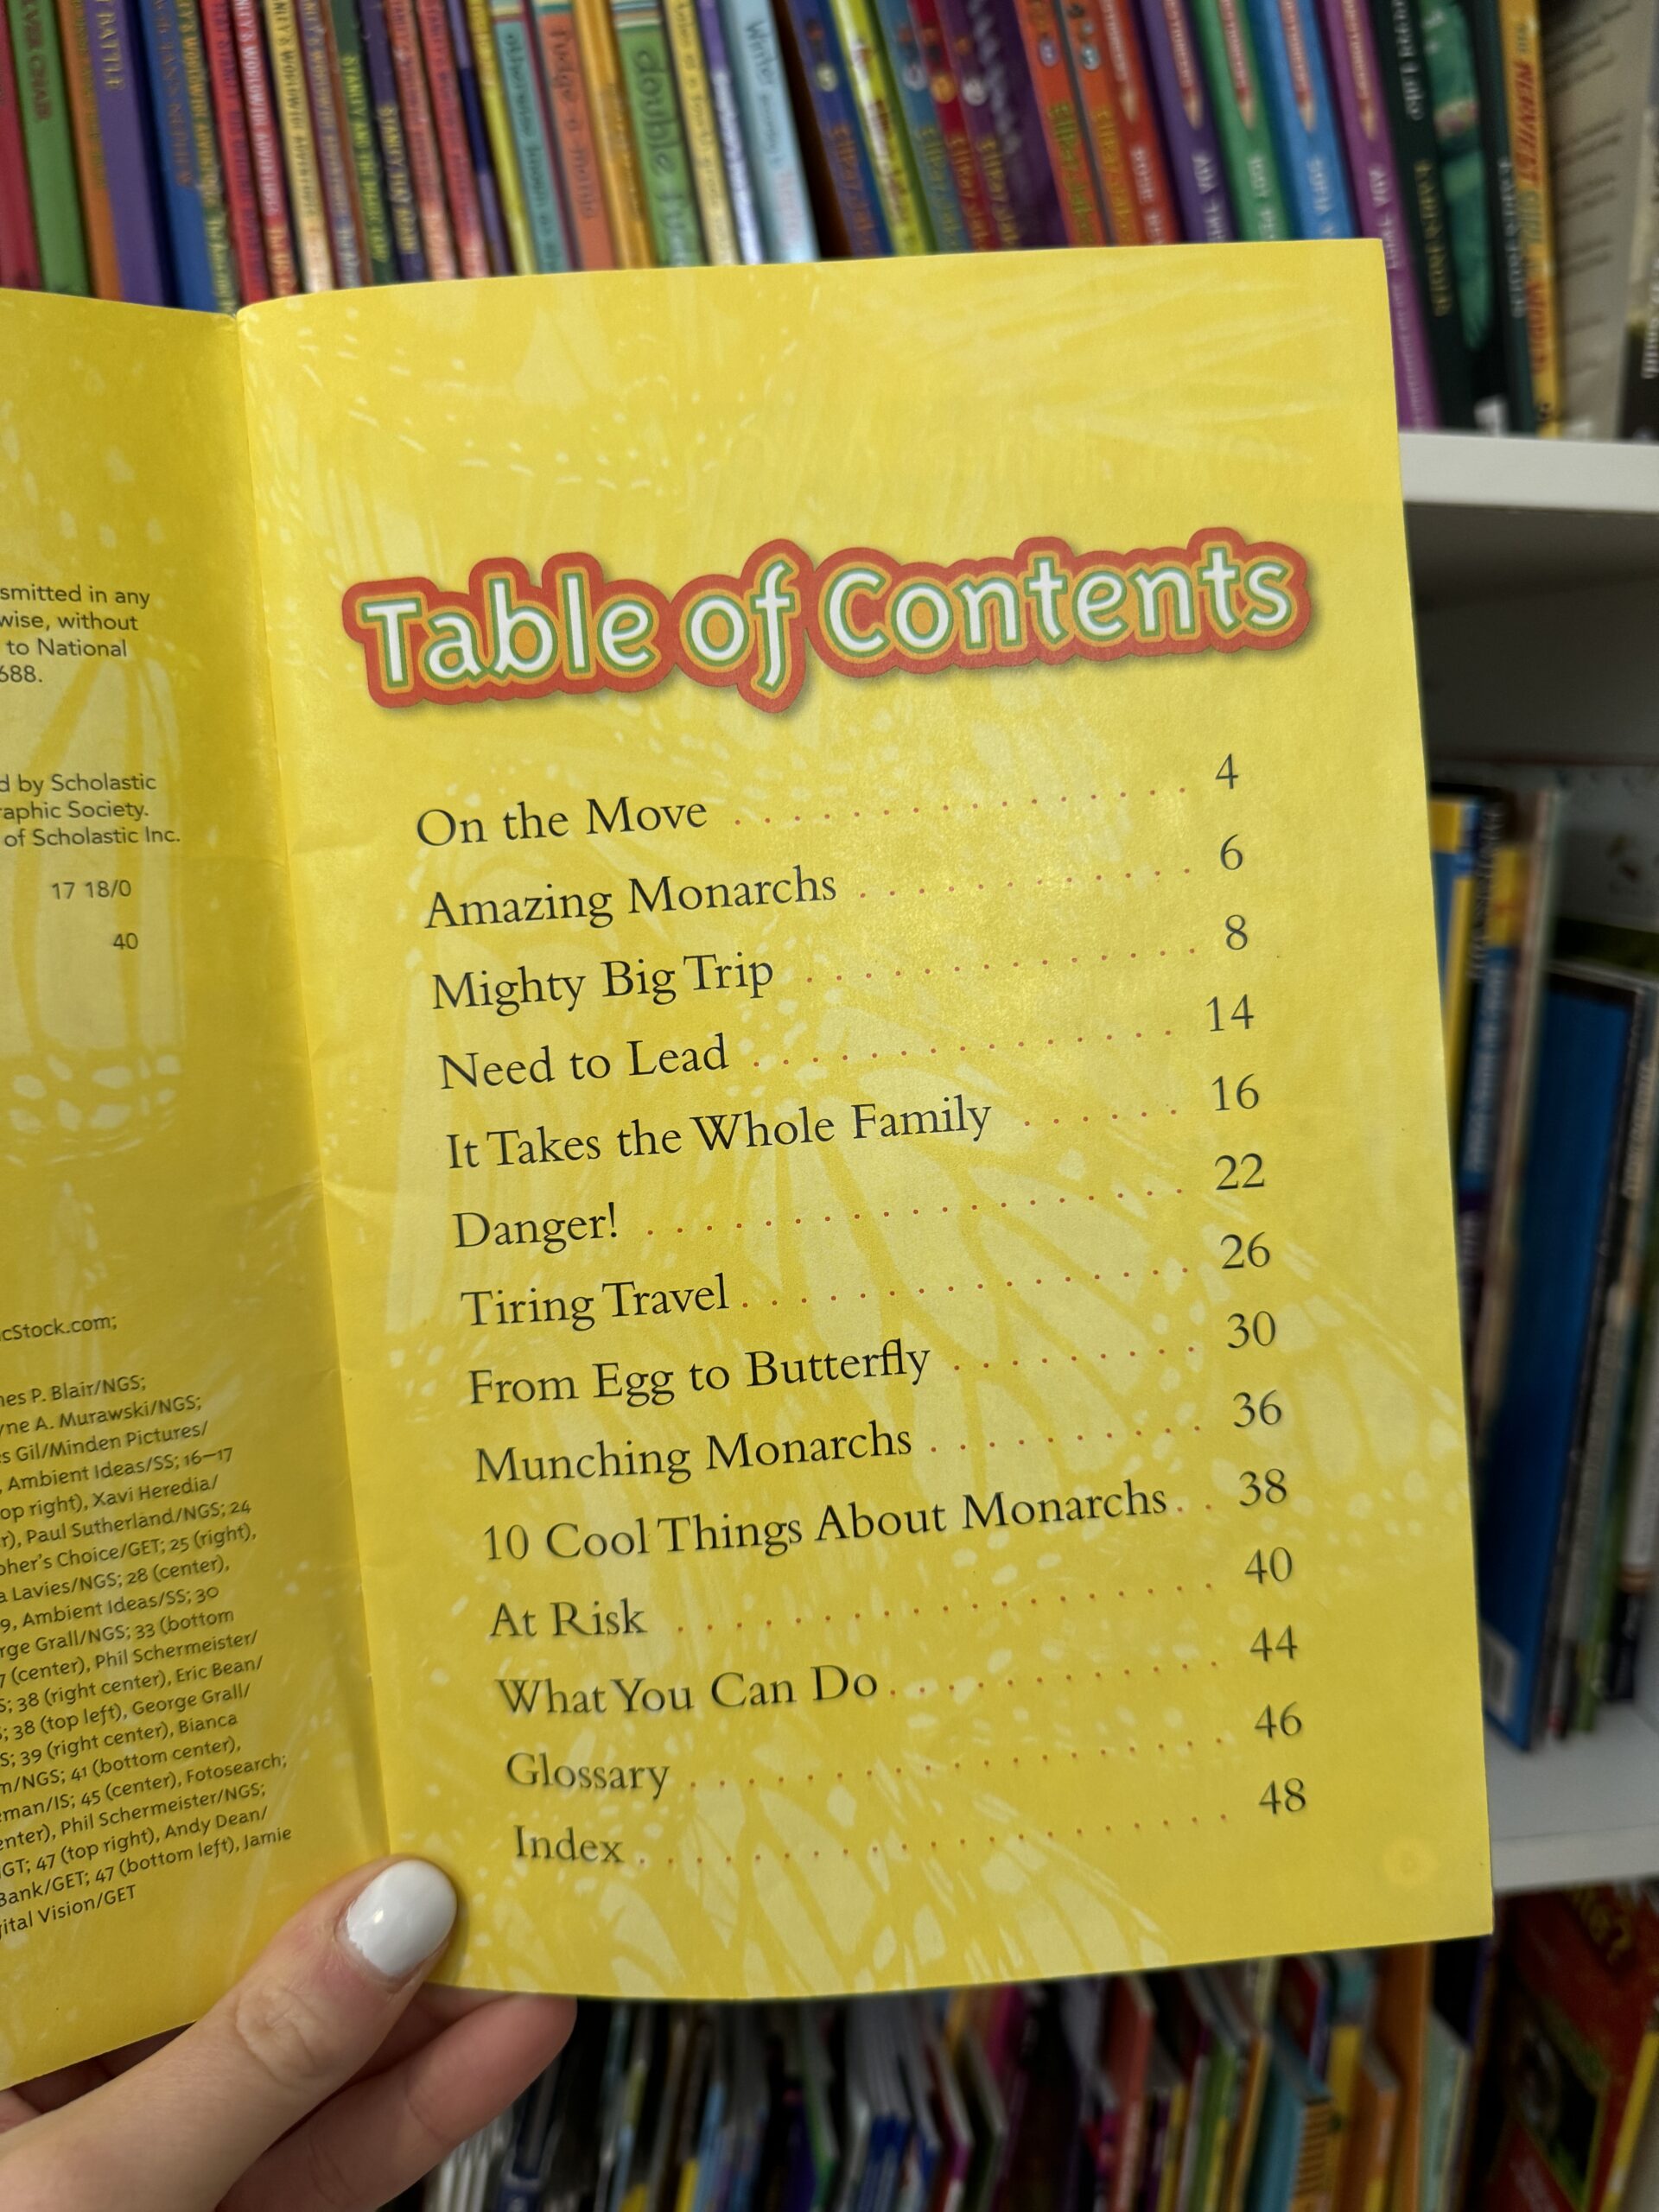
The table of contents is there to help students see how a text is organized so they can go right to the chapter or section they need. It also gives students an idea of what they will learn in each chapter. So, if they’re skimming a table of contents and notice that they’re interested in each of the chapter titles (say: The First Submarines, Today’s Submersibles), then they’ll know that this is a book they want to read, rather than diving into the text and getting bored or frustrated because it’s not something they’re interested in at all.
Titles and subtitles
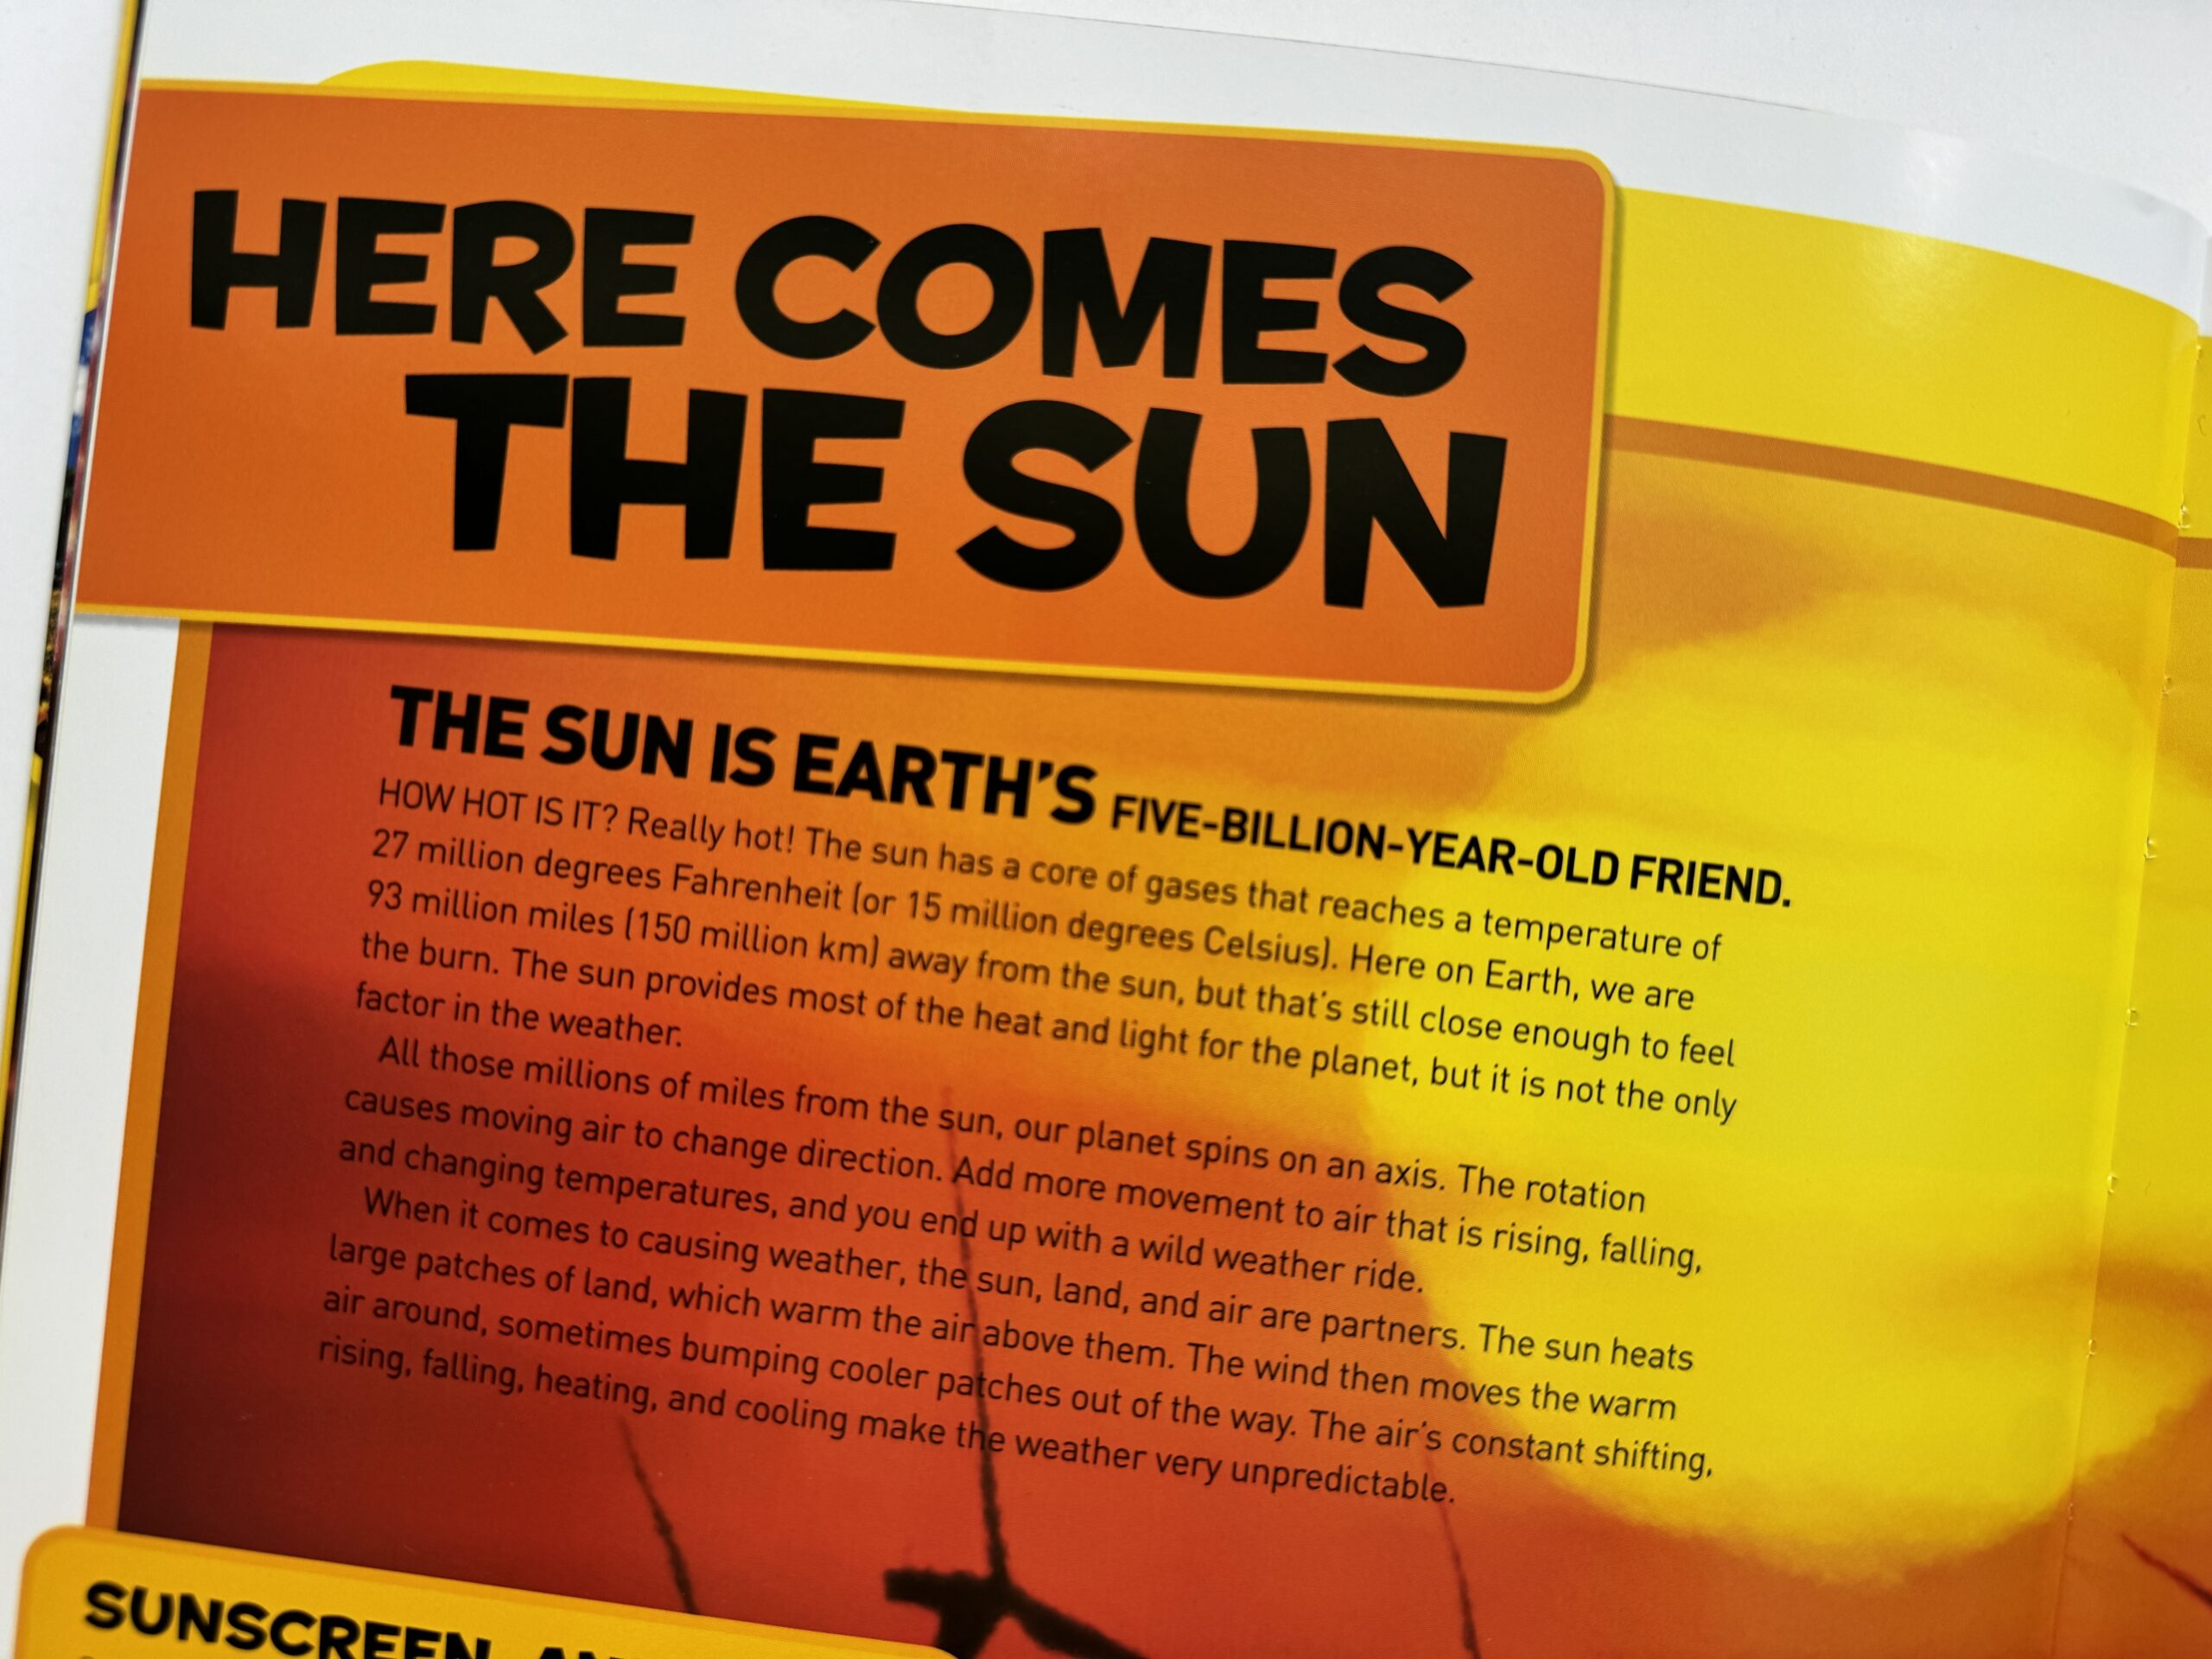
Titles and subtitles (or headings and subheadings) give information about what a section is about. In nonfiction, they may also give important new vocabulary words that help with understanding the meaning of a text. Titles and subtitles also give information about how a text is organized. For example, a text with a chronological structure may have dates in each subtitle to let students know that they are moving through time.
Bold text
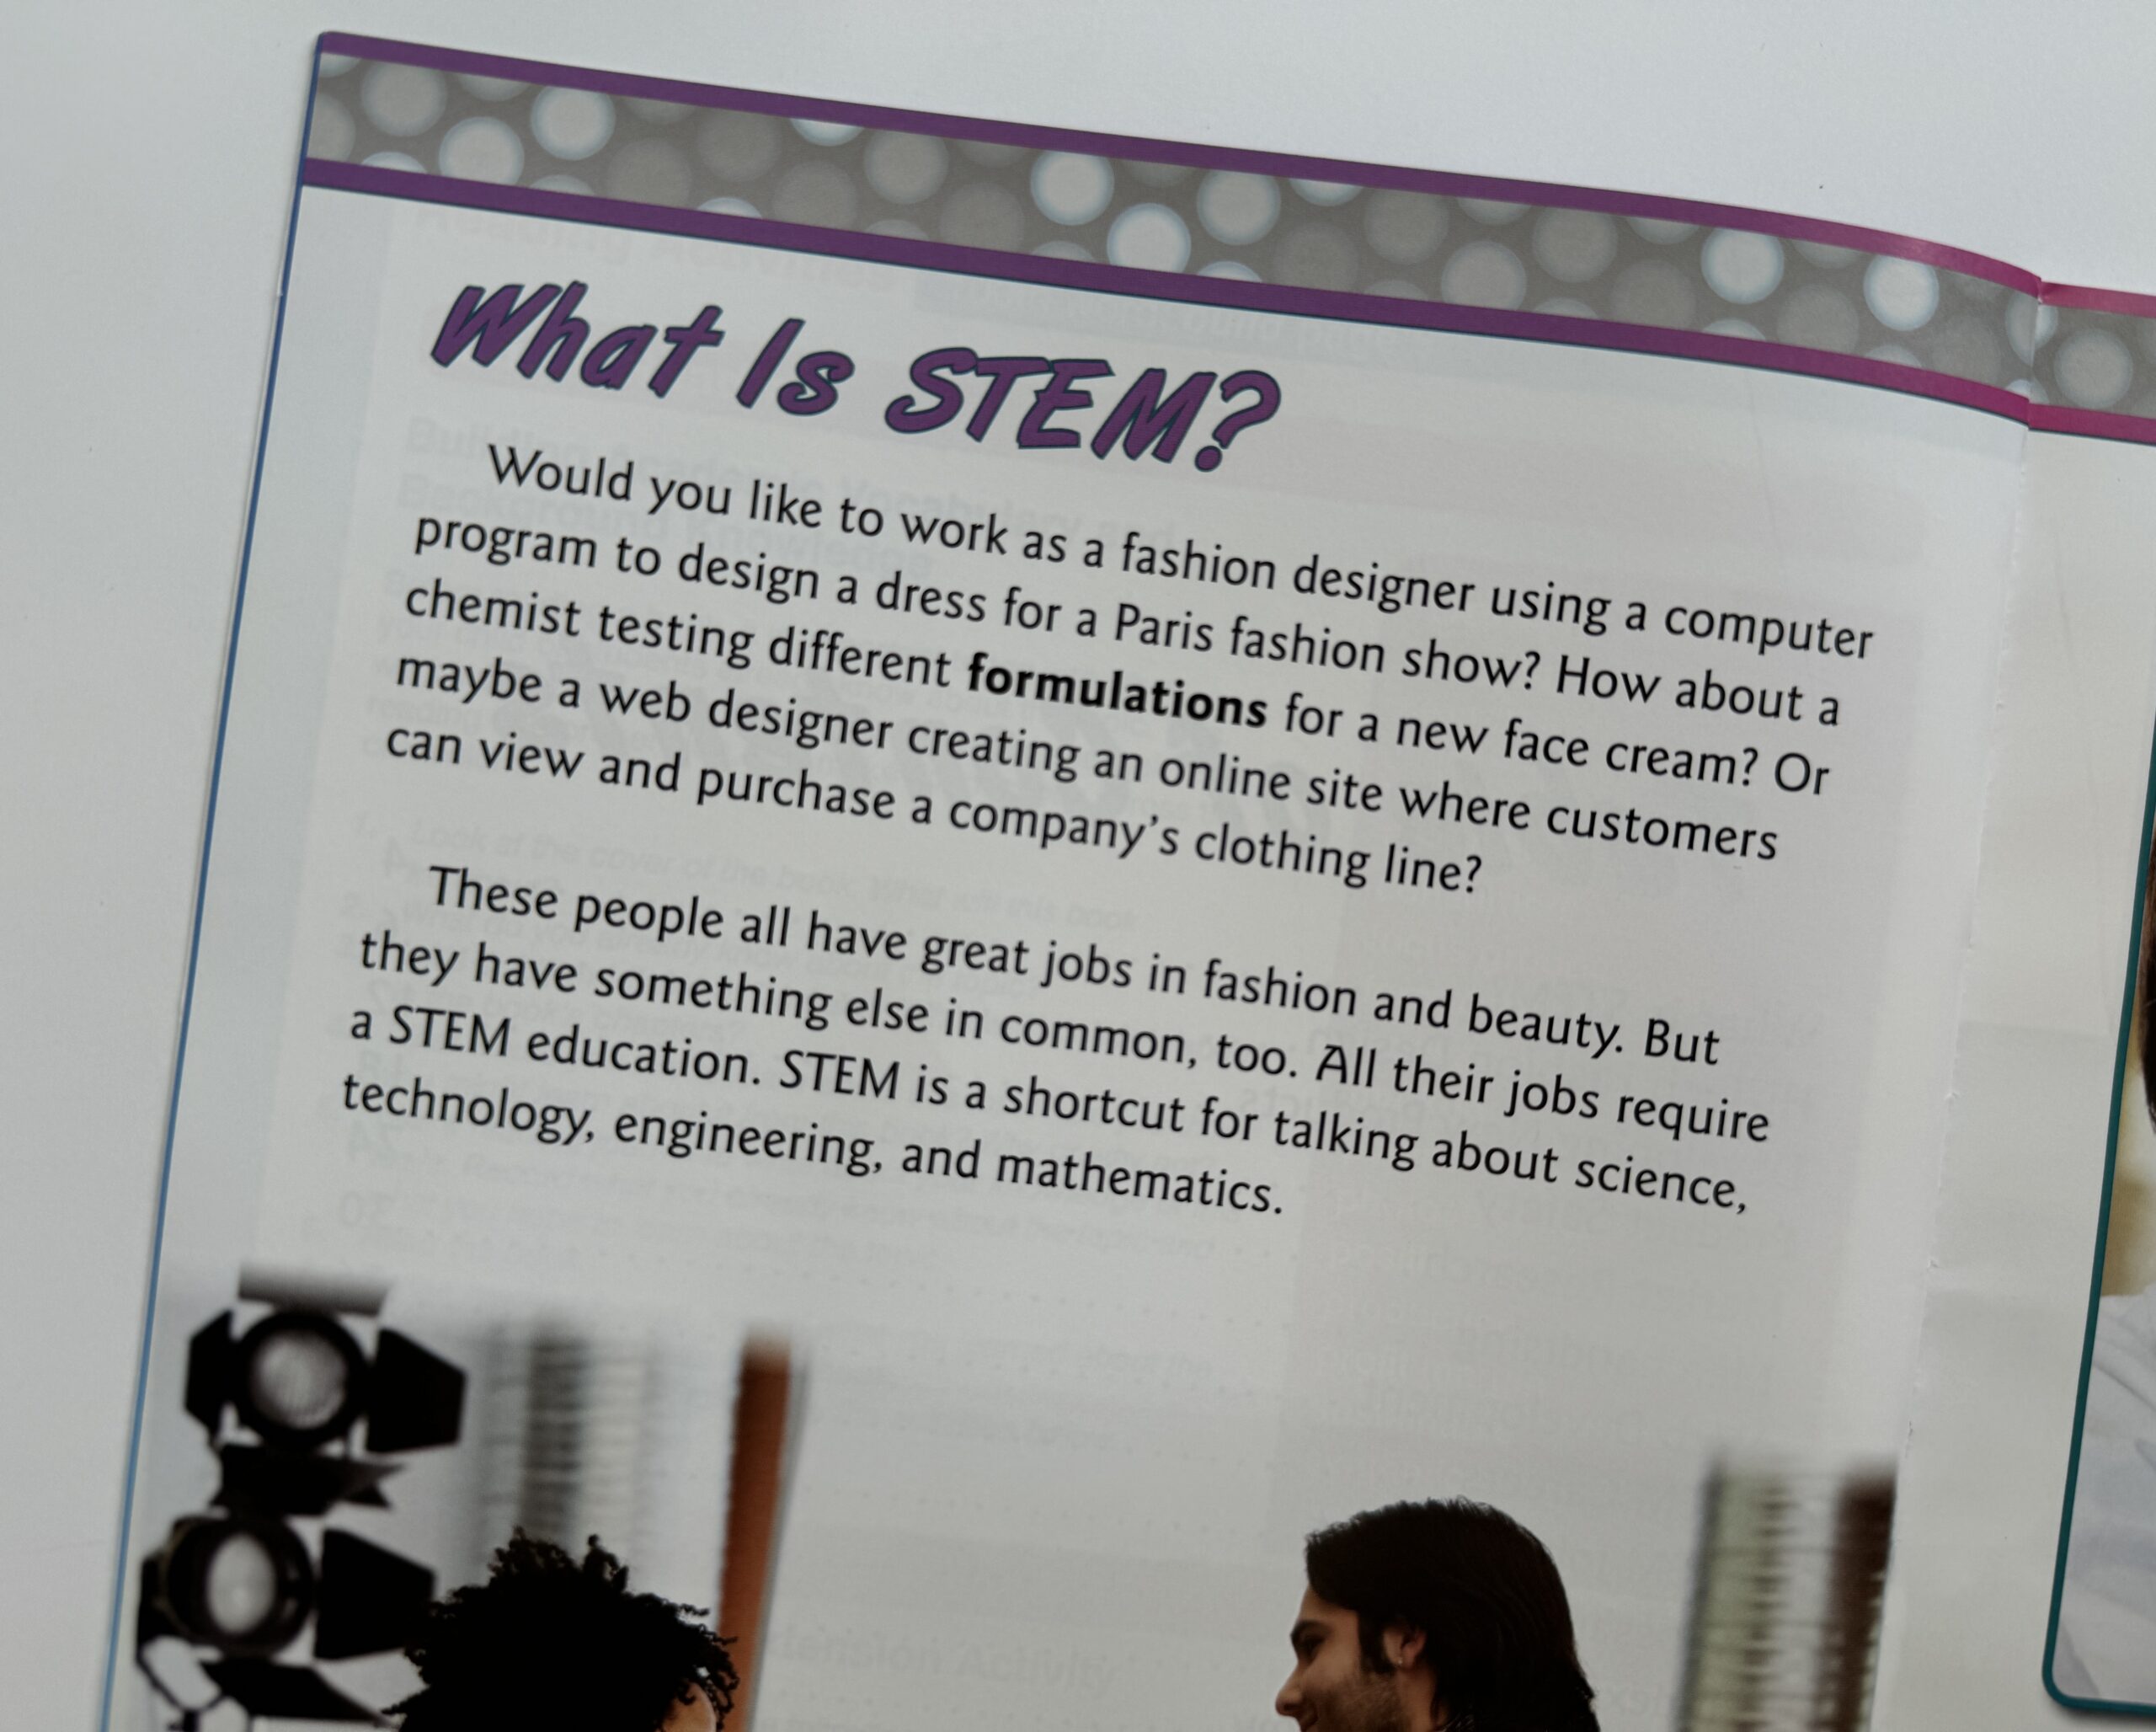
When text is bold, it brings the reader’s attention to those words. A bold word may be a new word that is included in the glossary or a famous person, place, or event. When students can focus on bold words, they can quickly understand what a text is about, and they can find the key words in context.
Sidebar
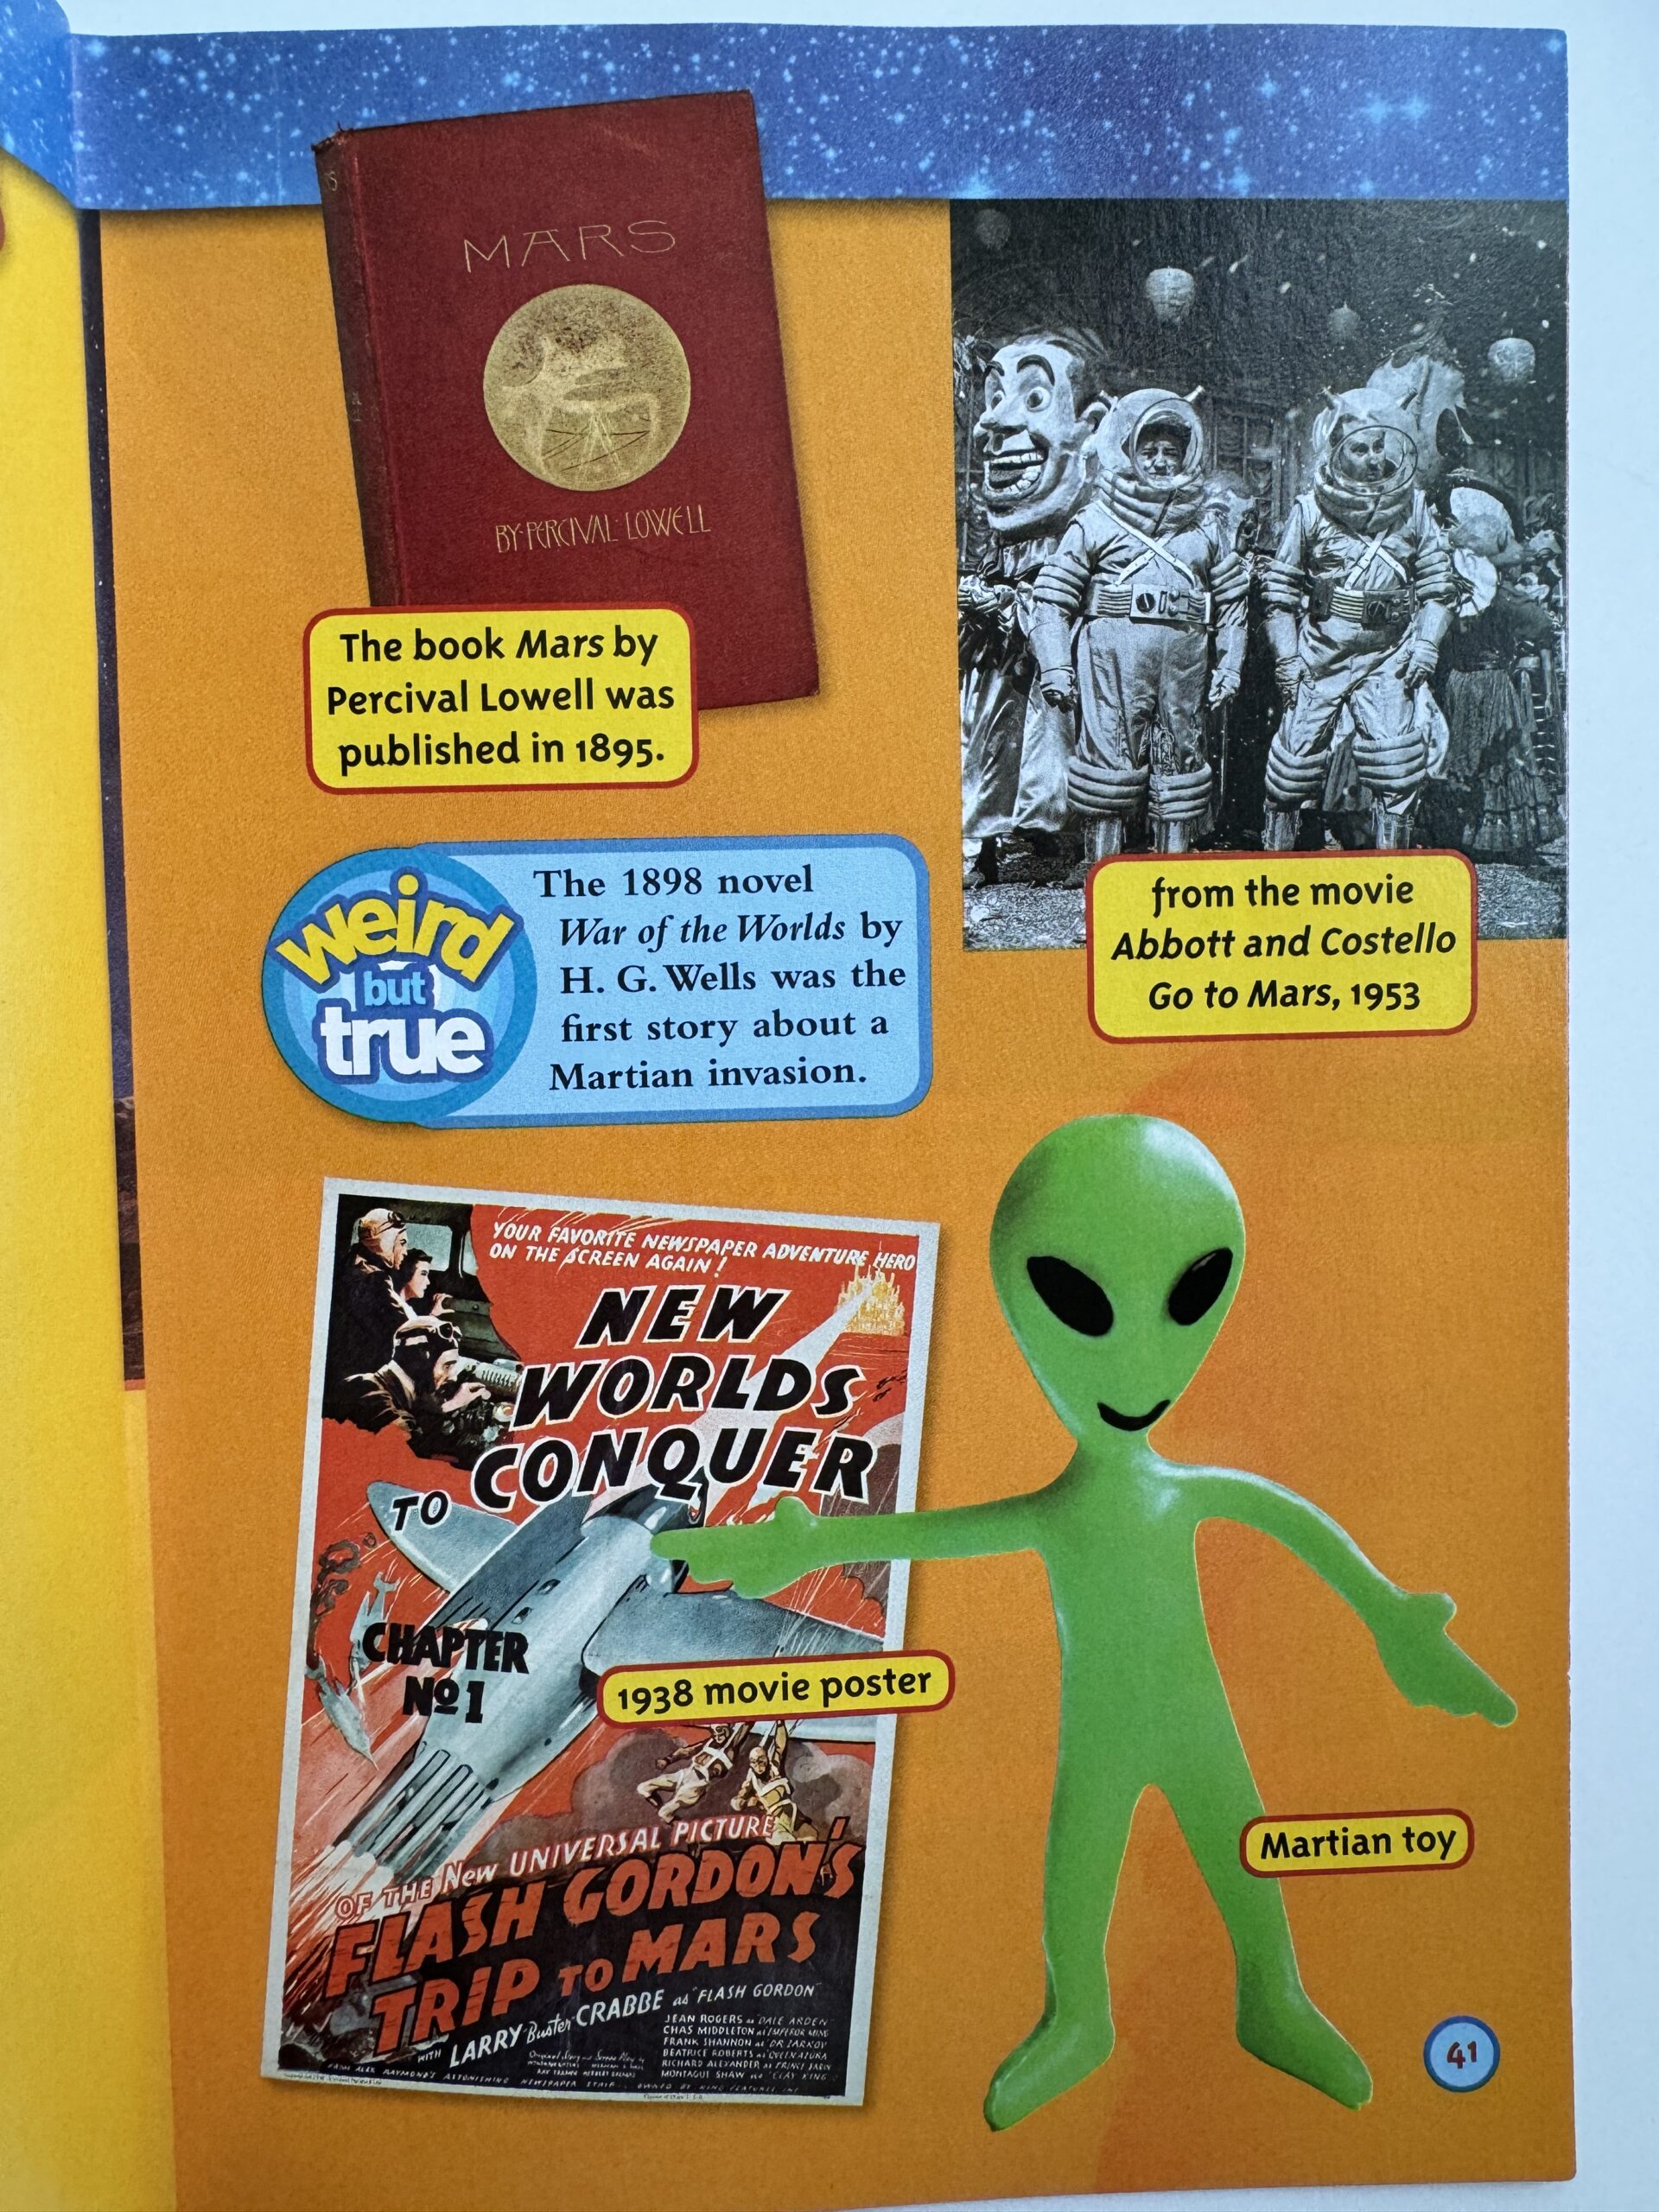
A sidebar is text that is set aside from the main text. Sidebars include information that is interesting, or supports the main text, but is not part of the main idea. So, a text about shark habitats might include a sidebar about when and where most deadly shark attacks occur, which is interesting information but not 100% necessary. Sidebars often include features like graphs, charts, and timelines, which can be helpful for putting information into another form for students to digest.
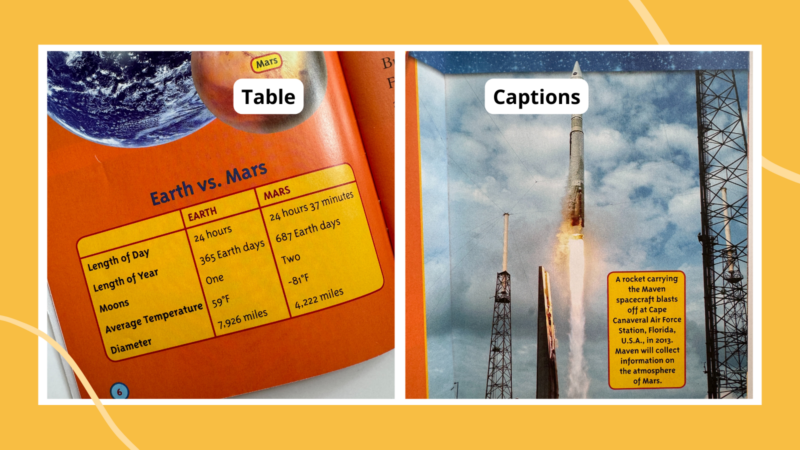
Table
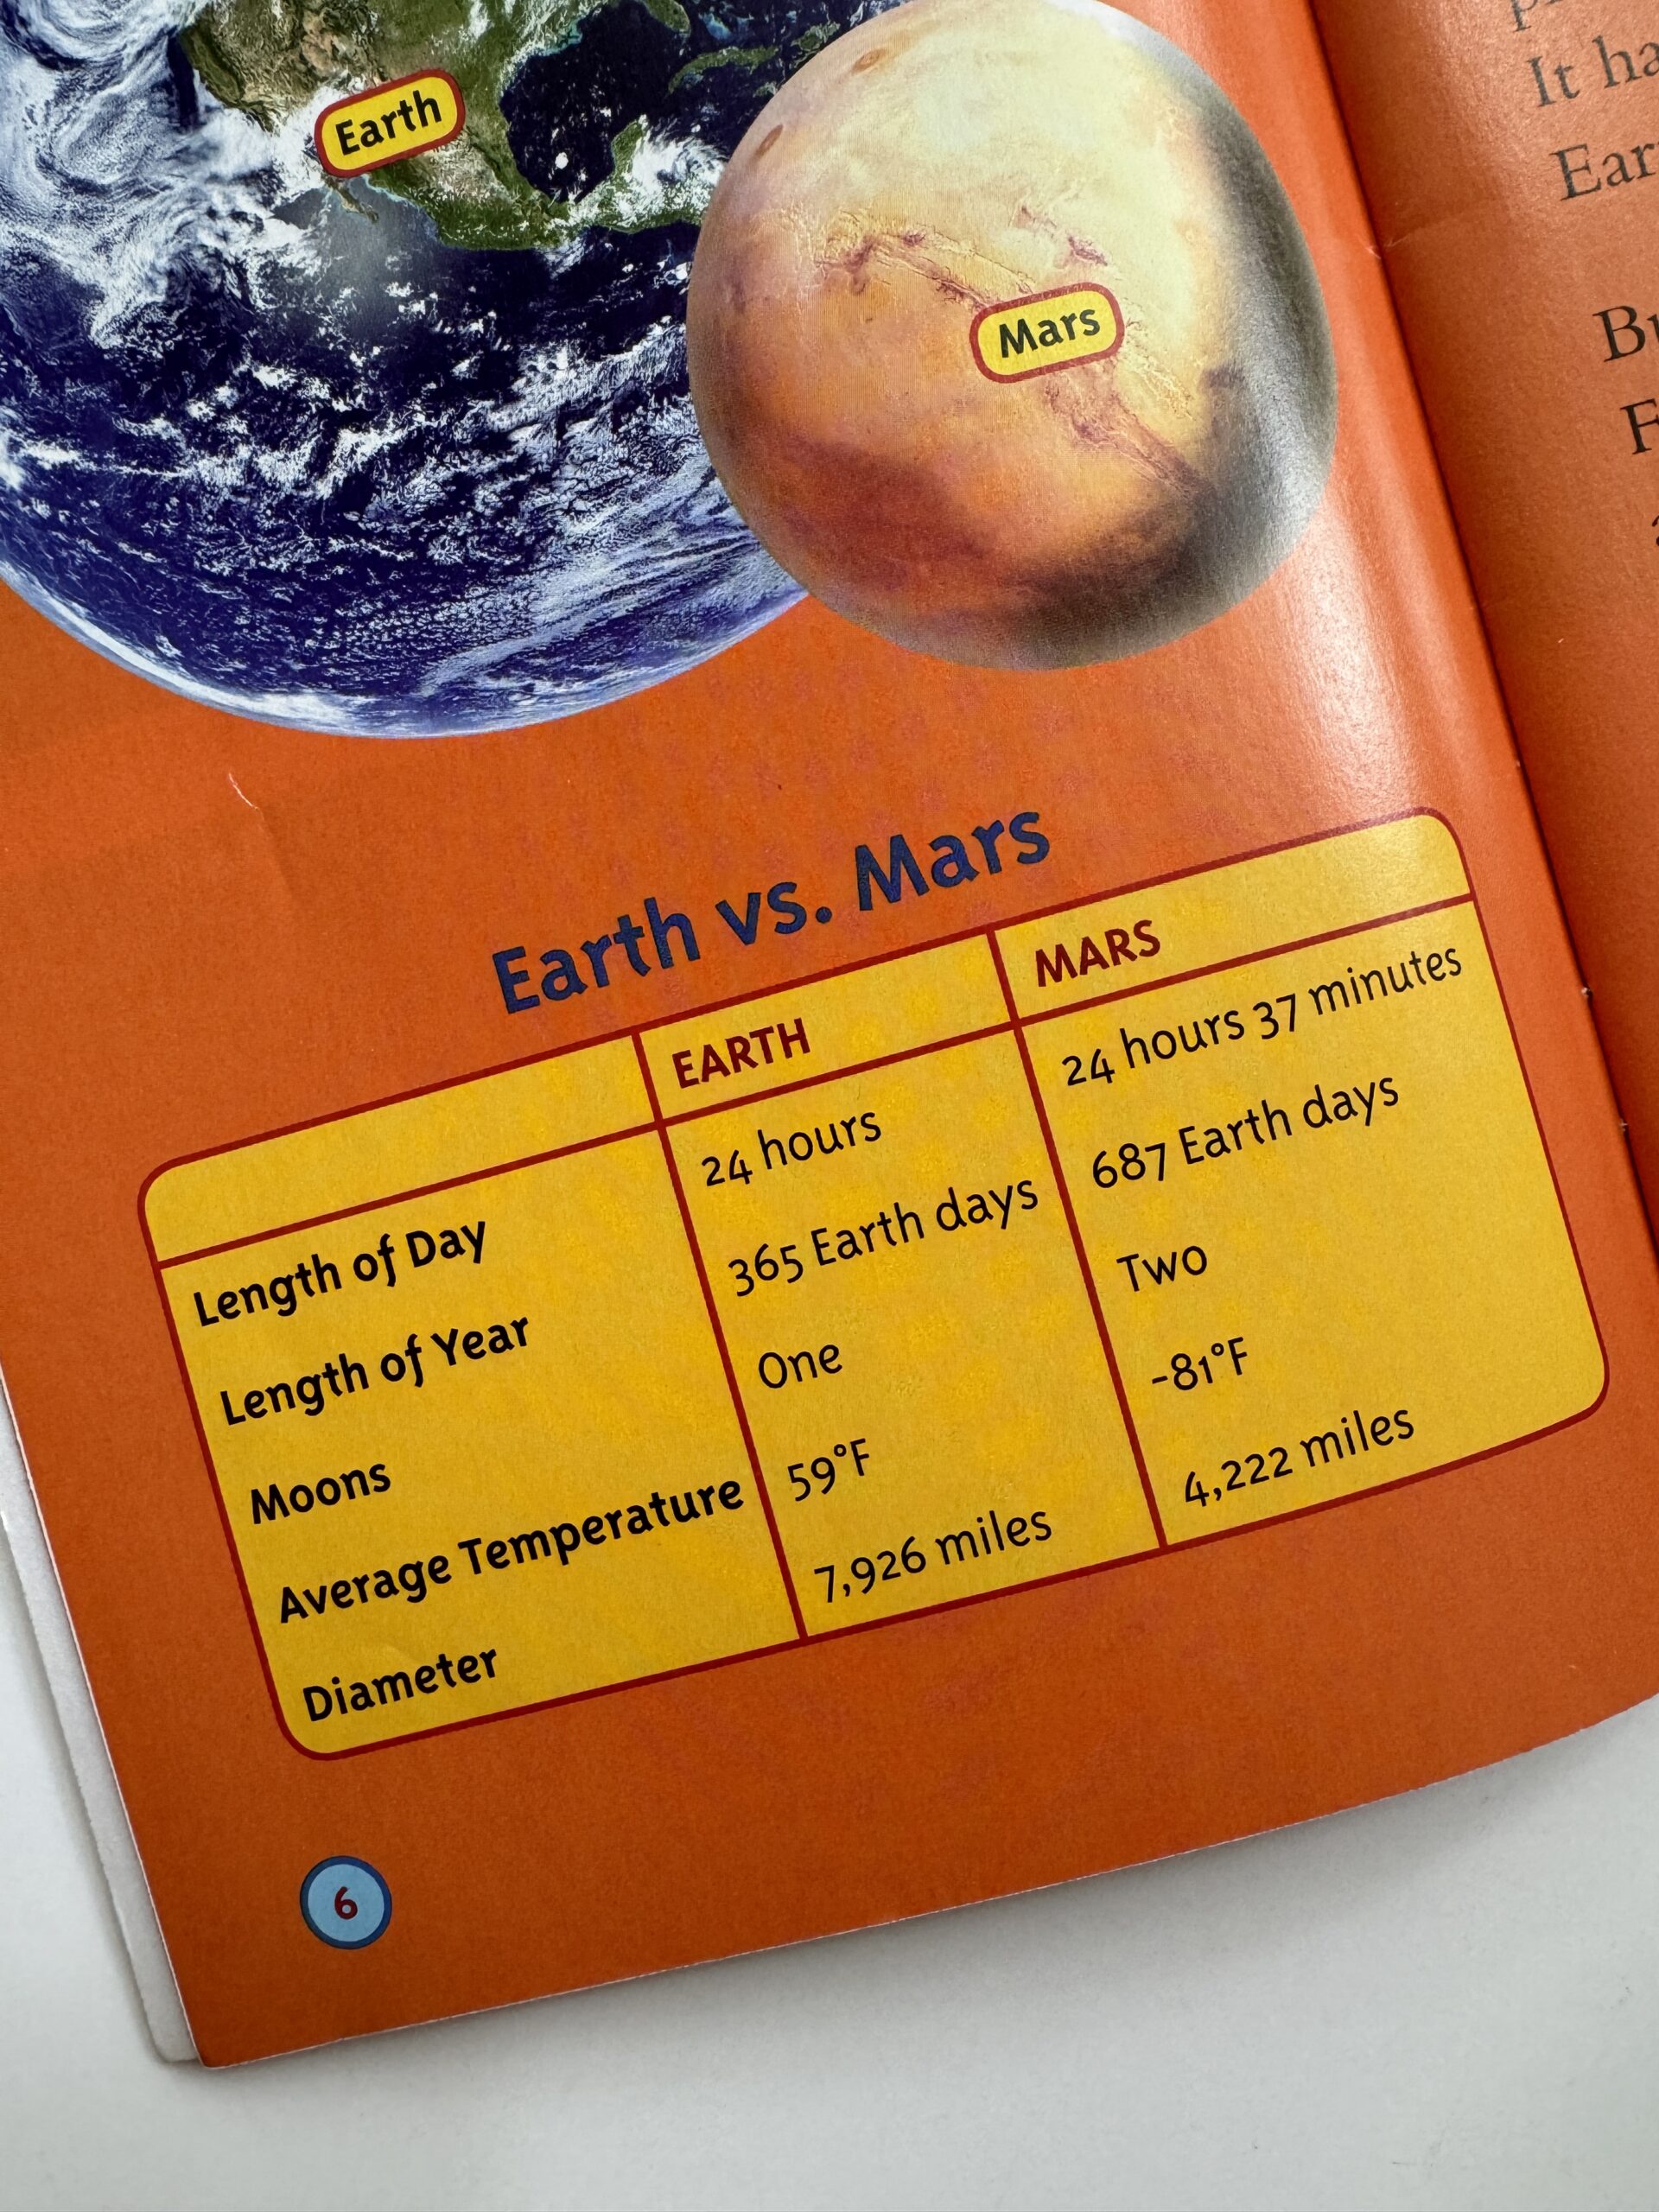
A table organizes information in a way that helps students compare information, or see information about one topic in one space. For example, a table about high and low temperatures in five cities allows a student to think about how the cities compare.
Photos
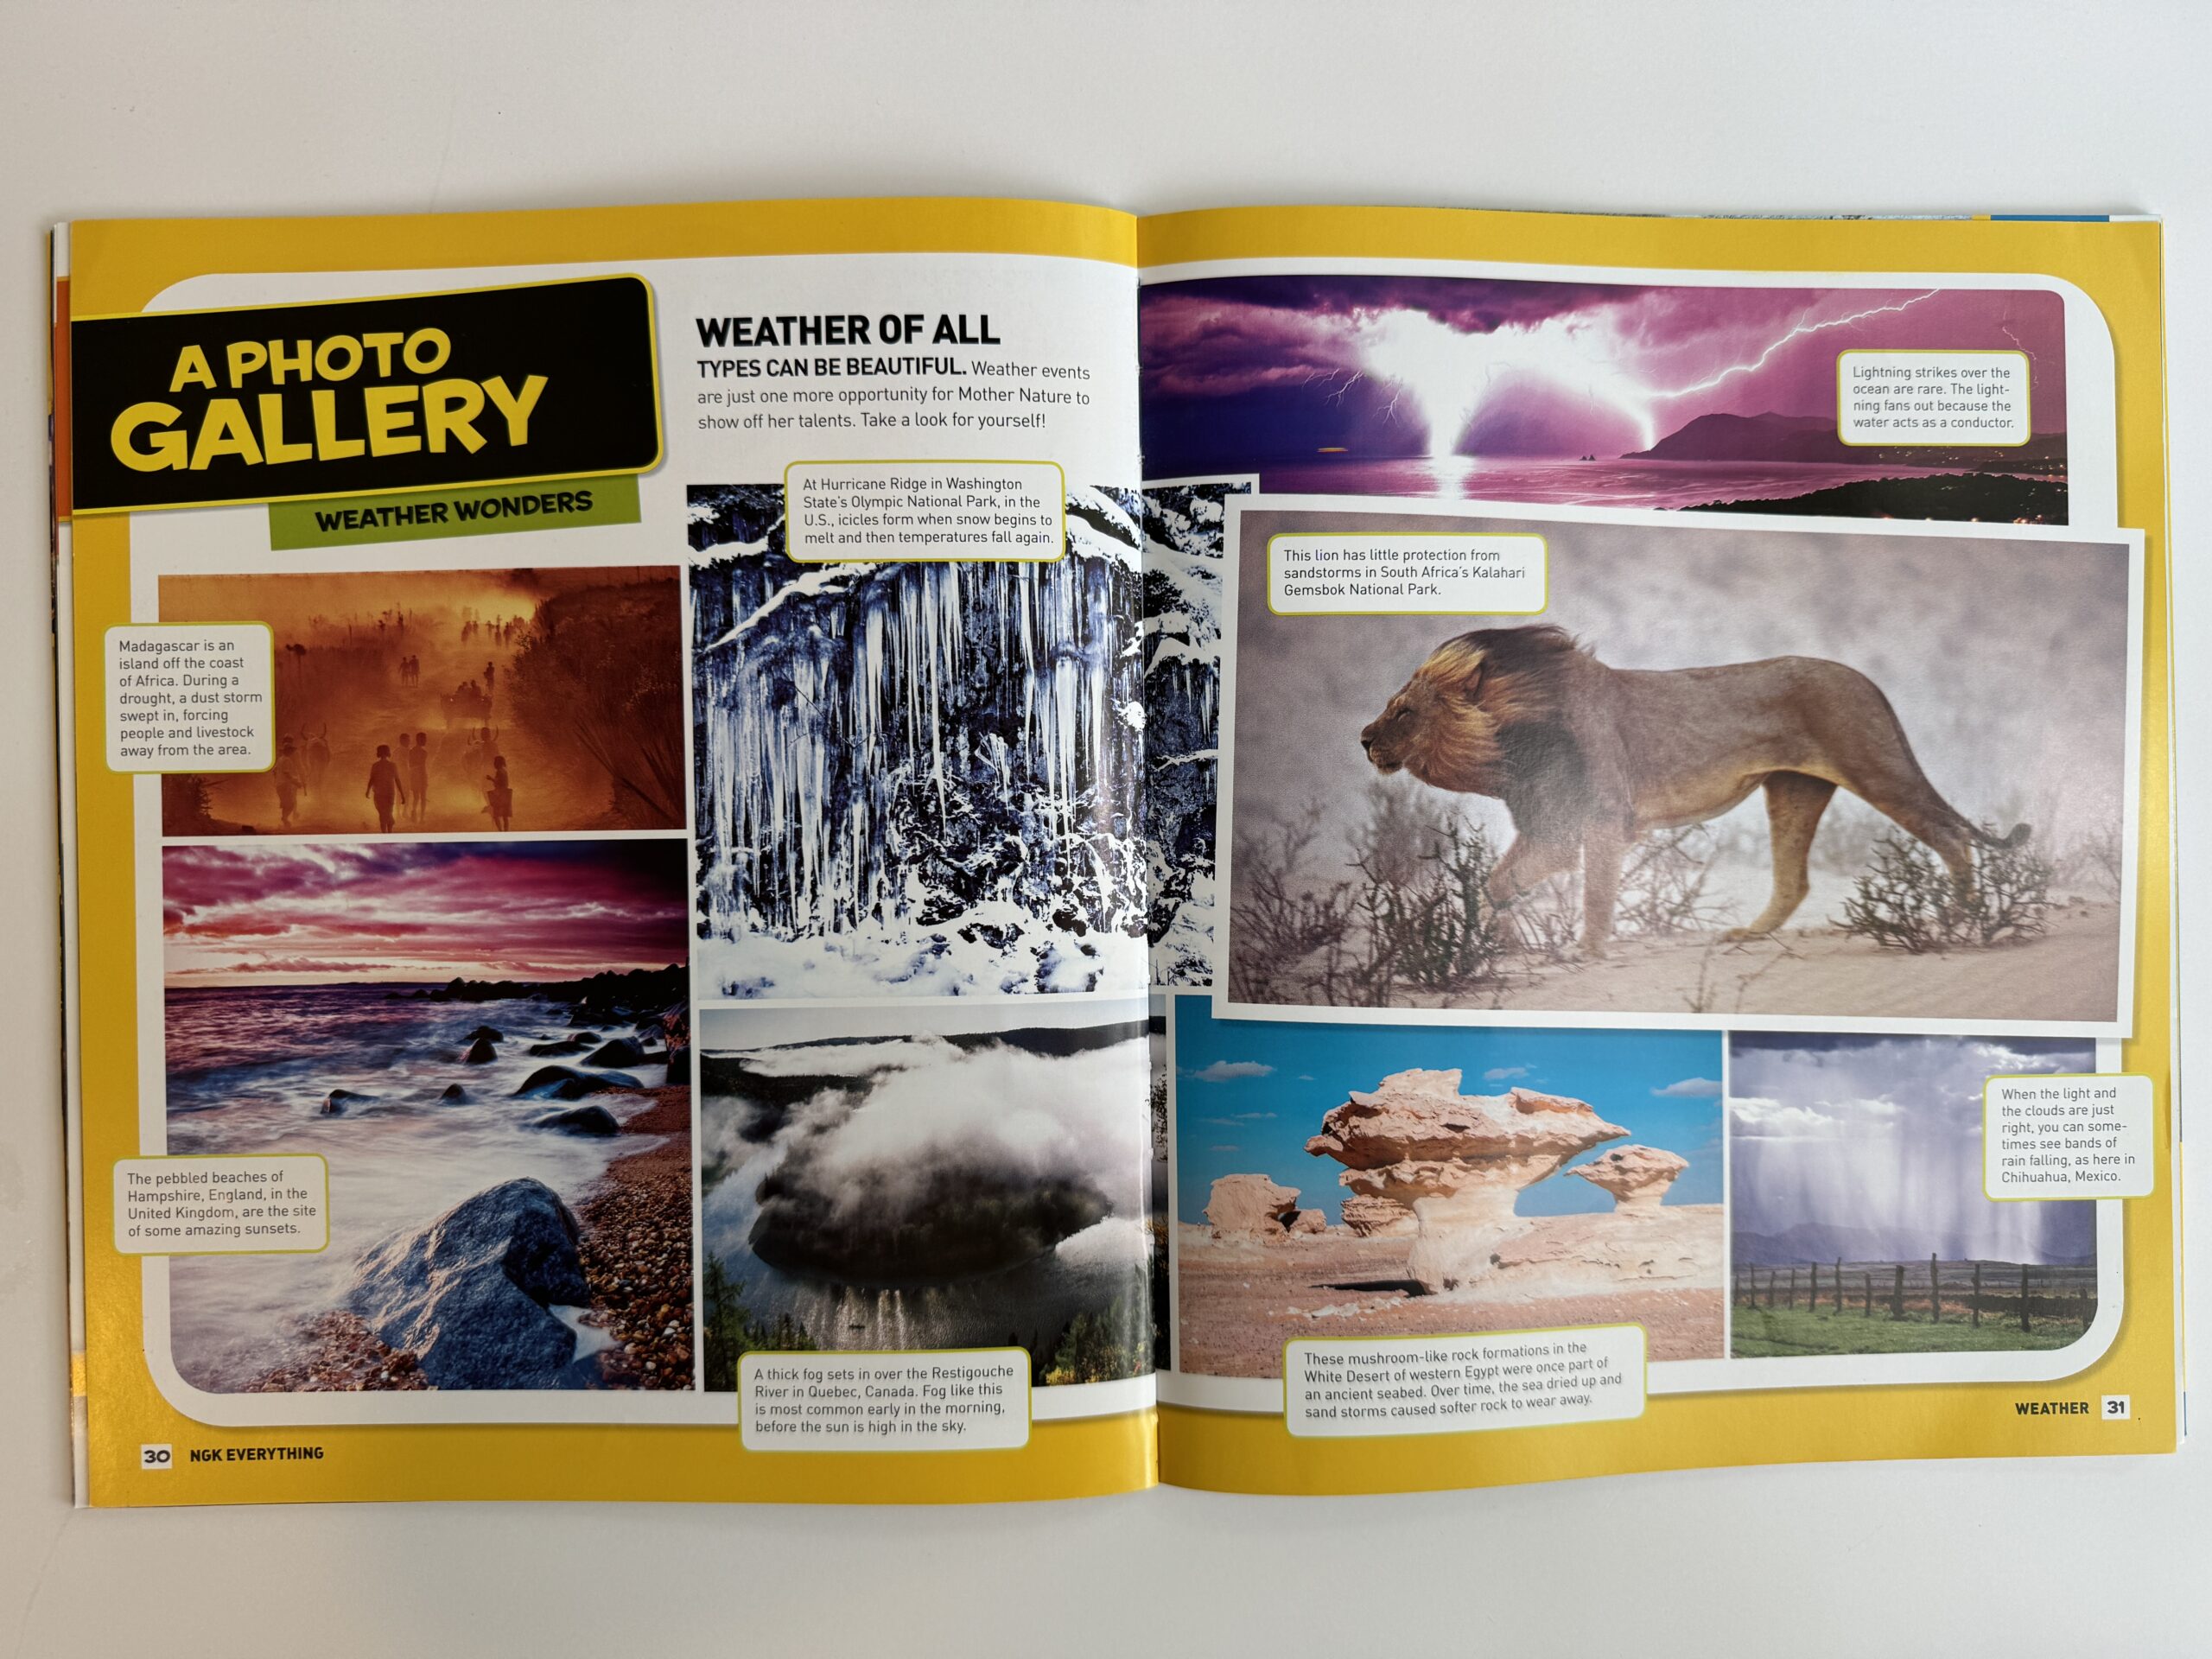
Photos present images of what’s covered in the text. They are important to help readers visualize topics, like what a famous person looked like or what an invention looked like.
Captions

Pictures and photos show what the text is discussing, and captions help students understand the context for those images.
Diagrams
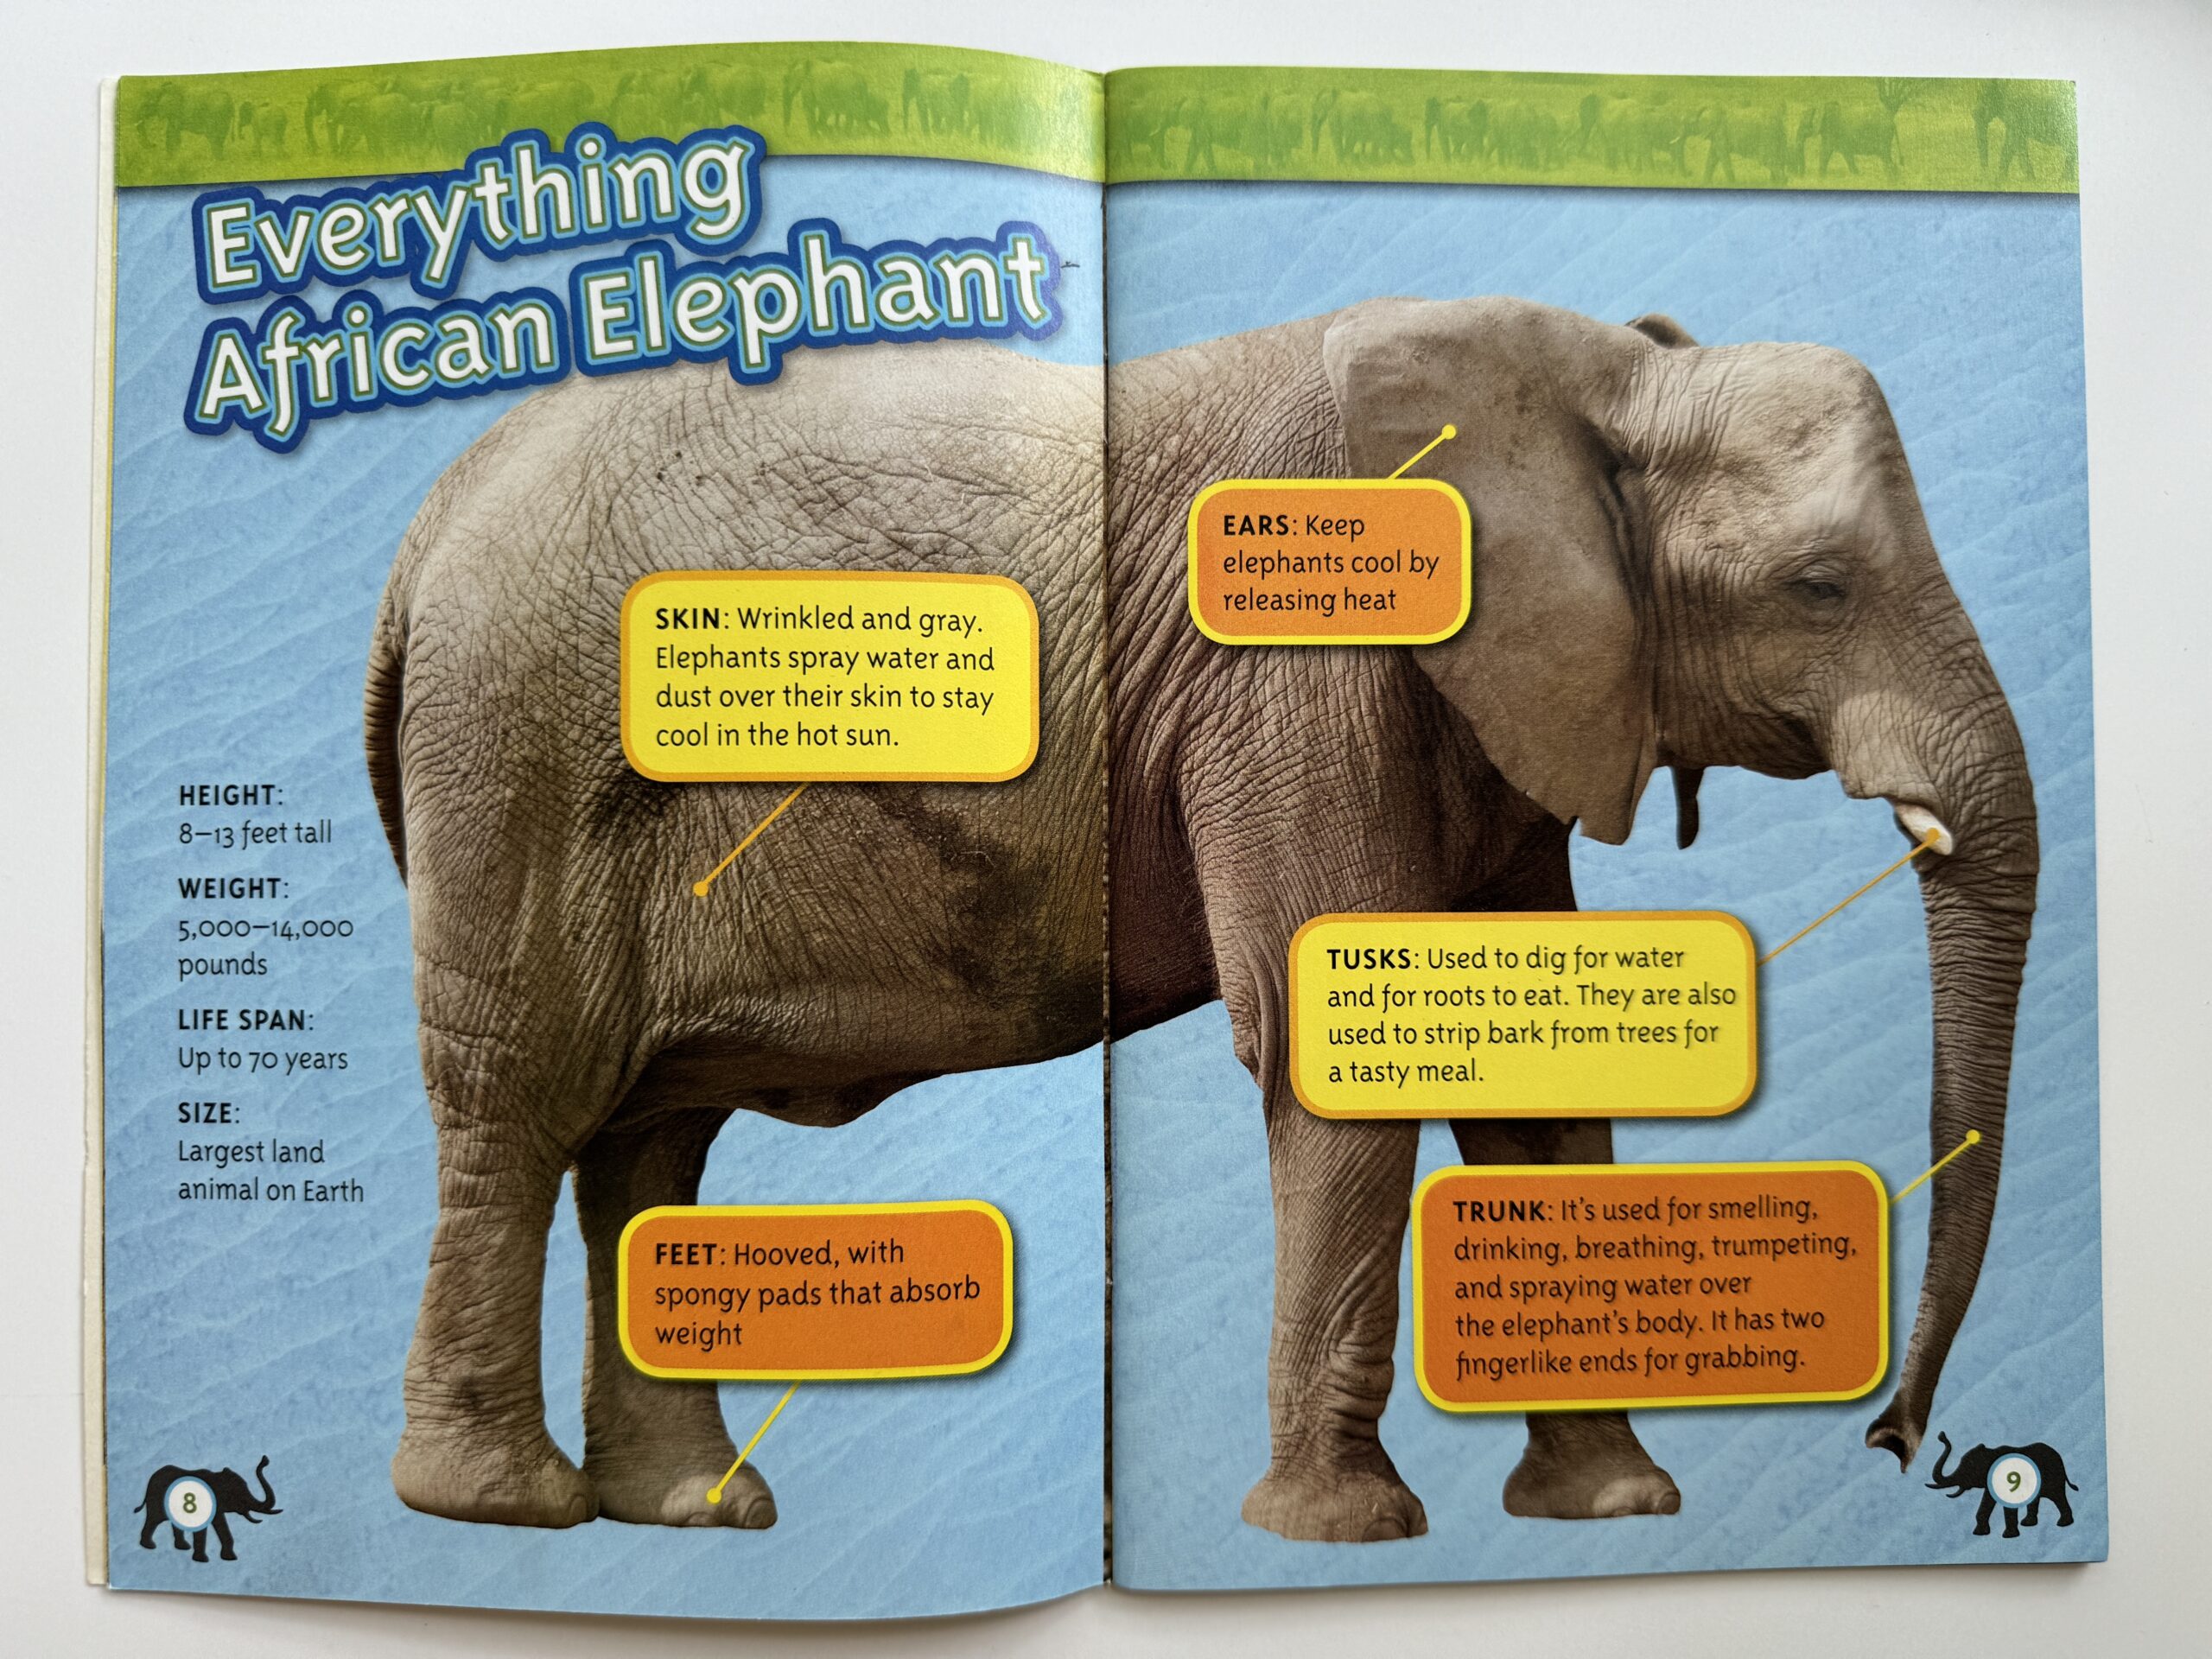
Diagrams allow readers to connect vocabulary with images. Labeling the parts of a frog, or a diagram of a frog’s life cycle, puts words to each section or part.
Labels
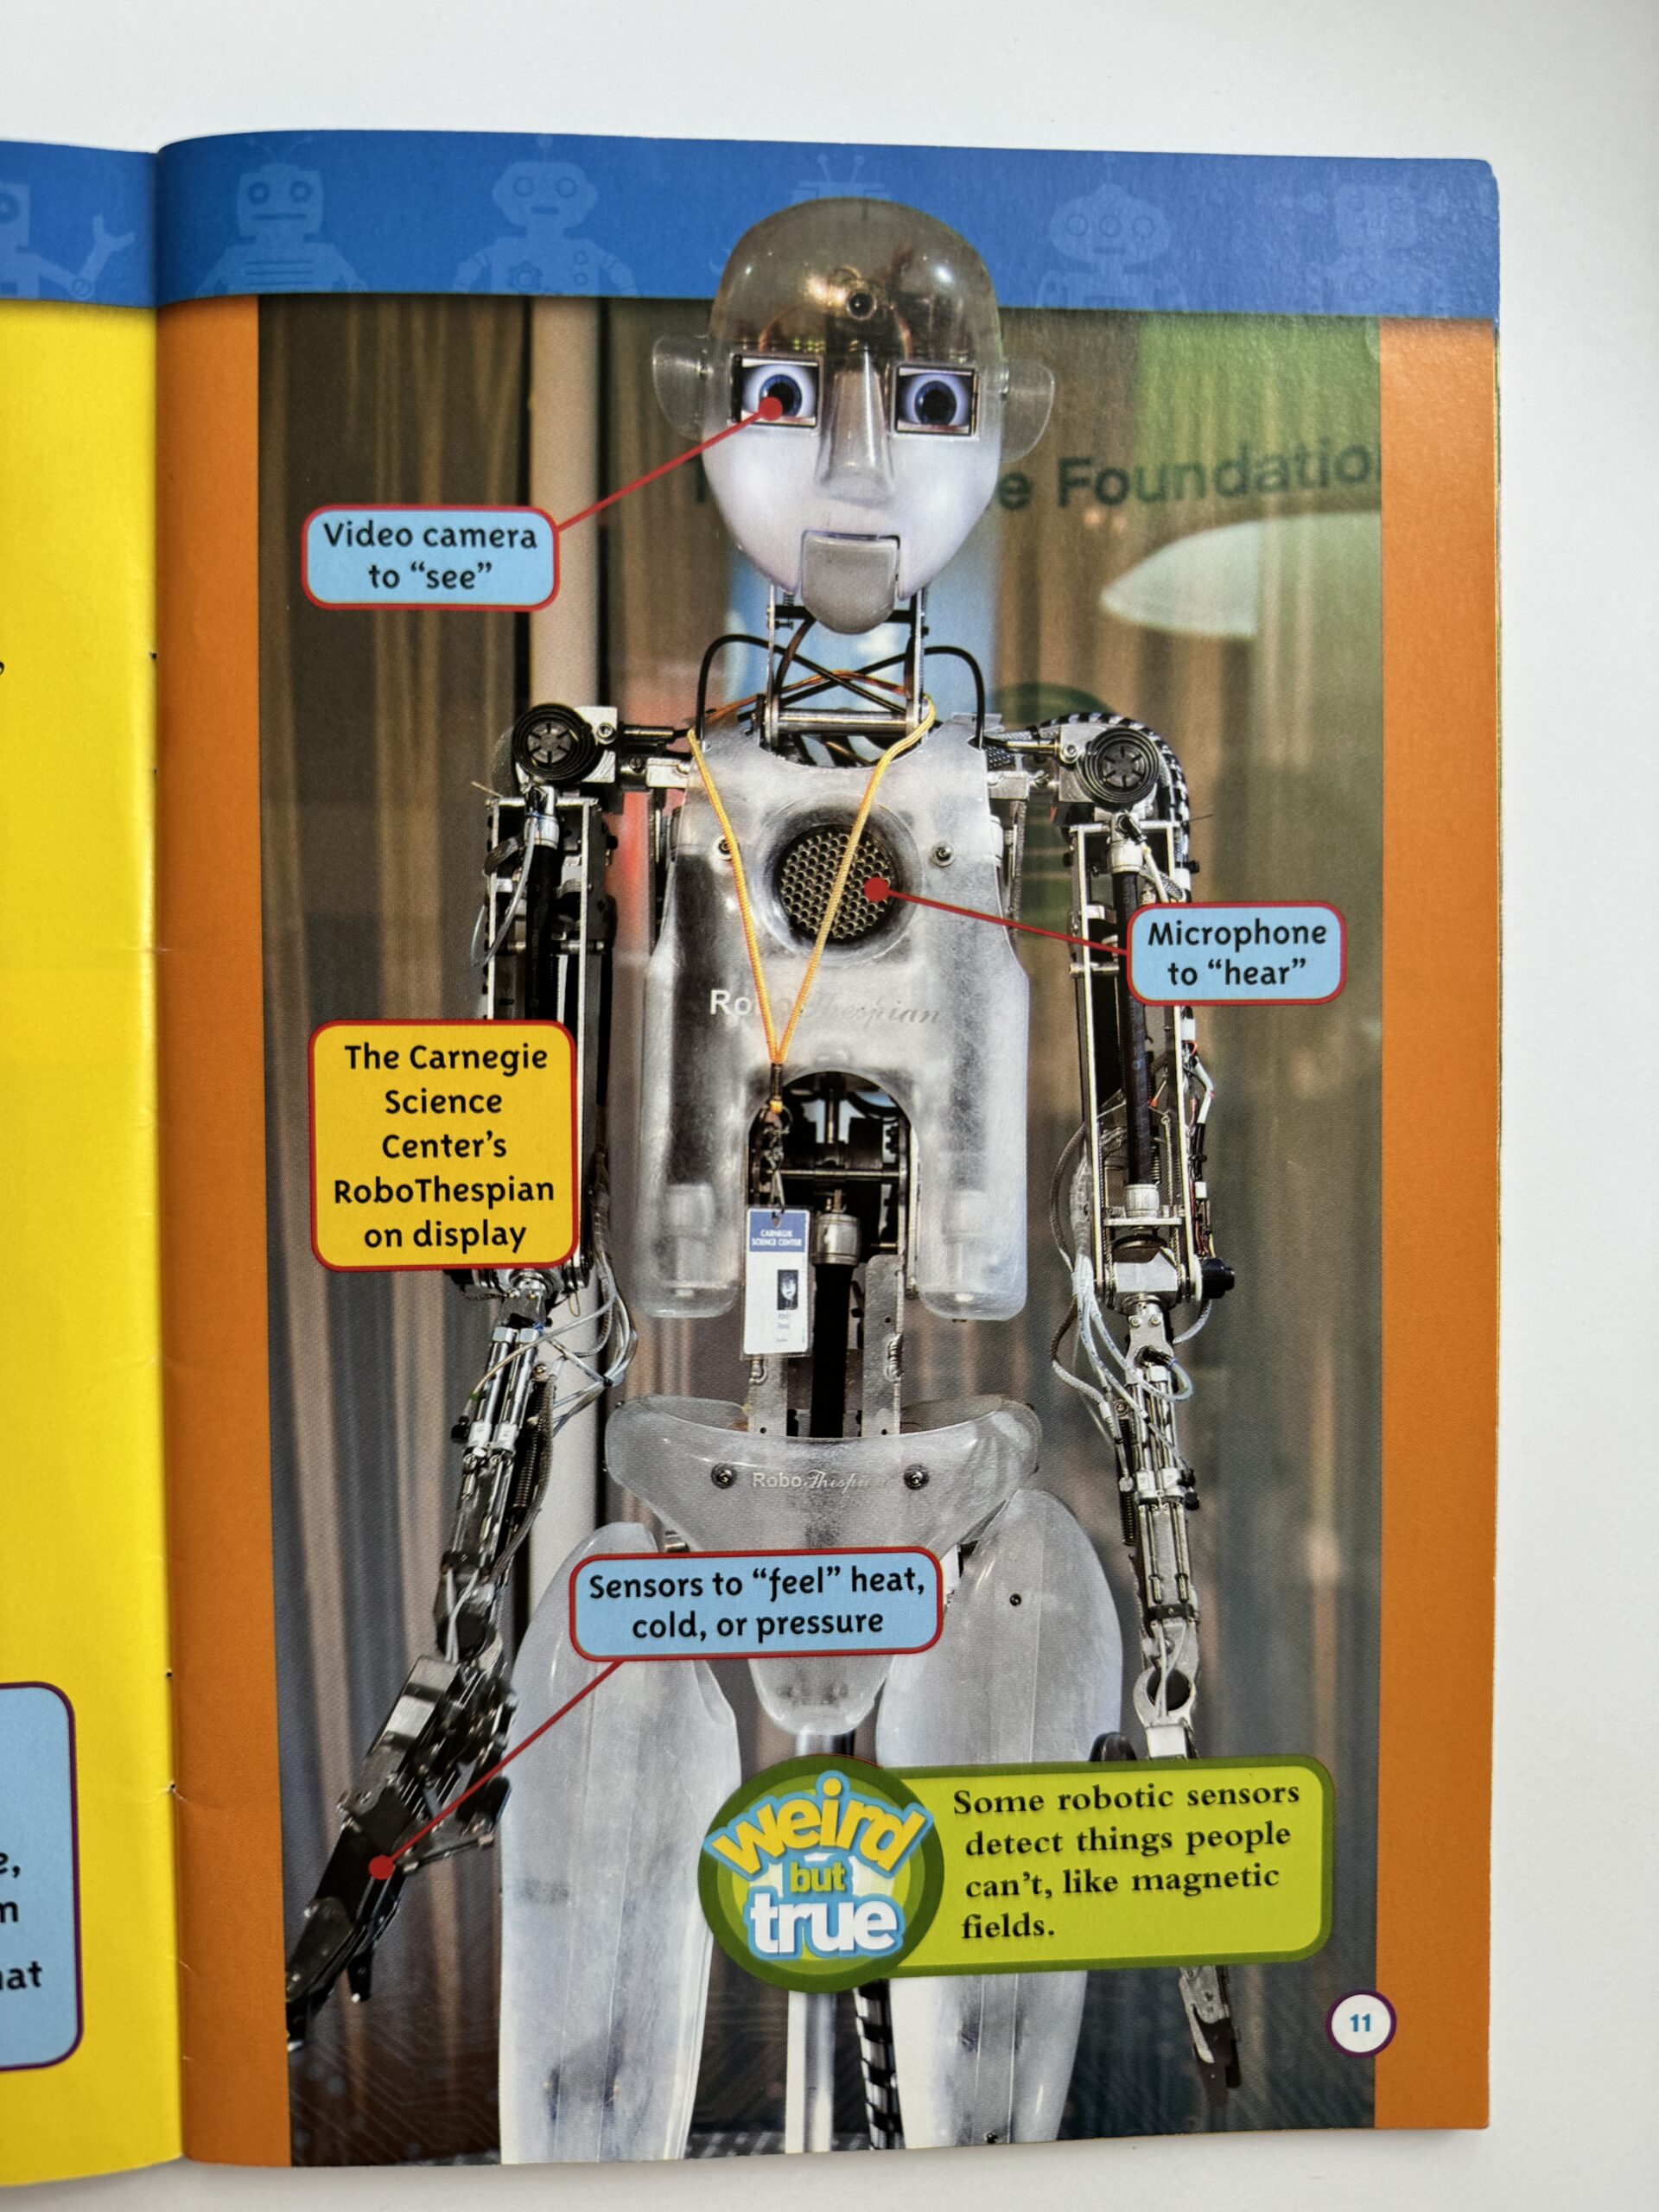
Labels explain what is included in a diagram or photo.
Charts
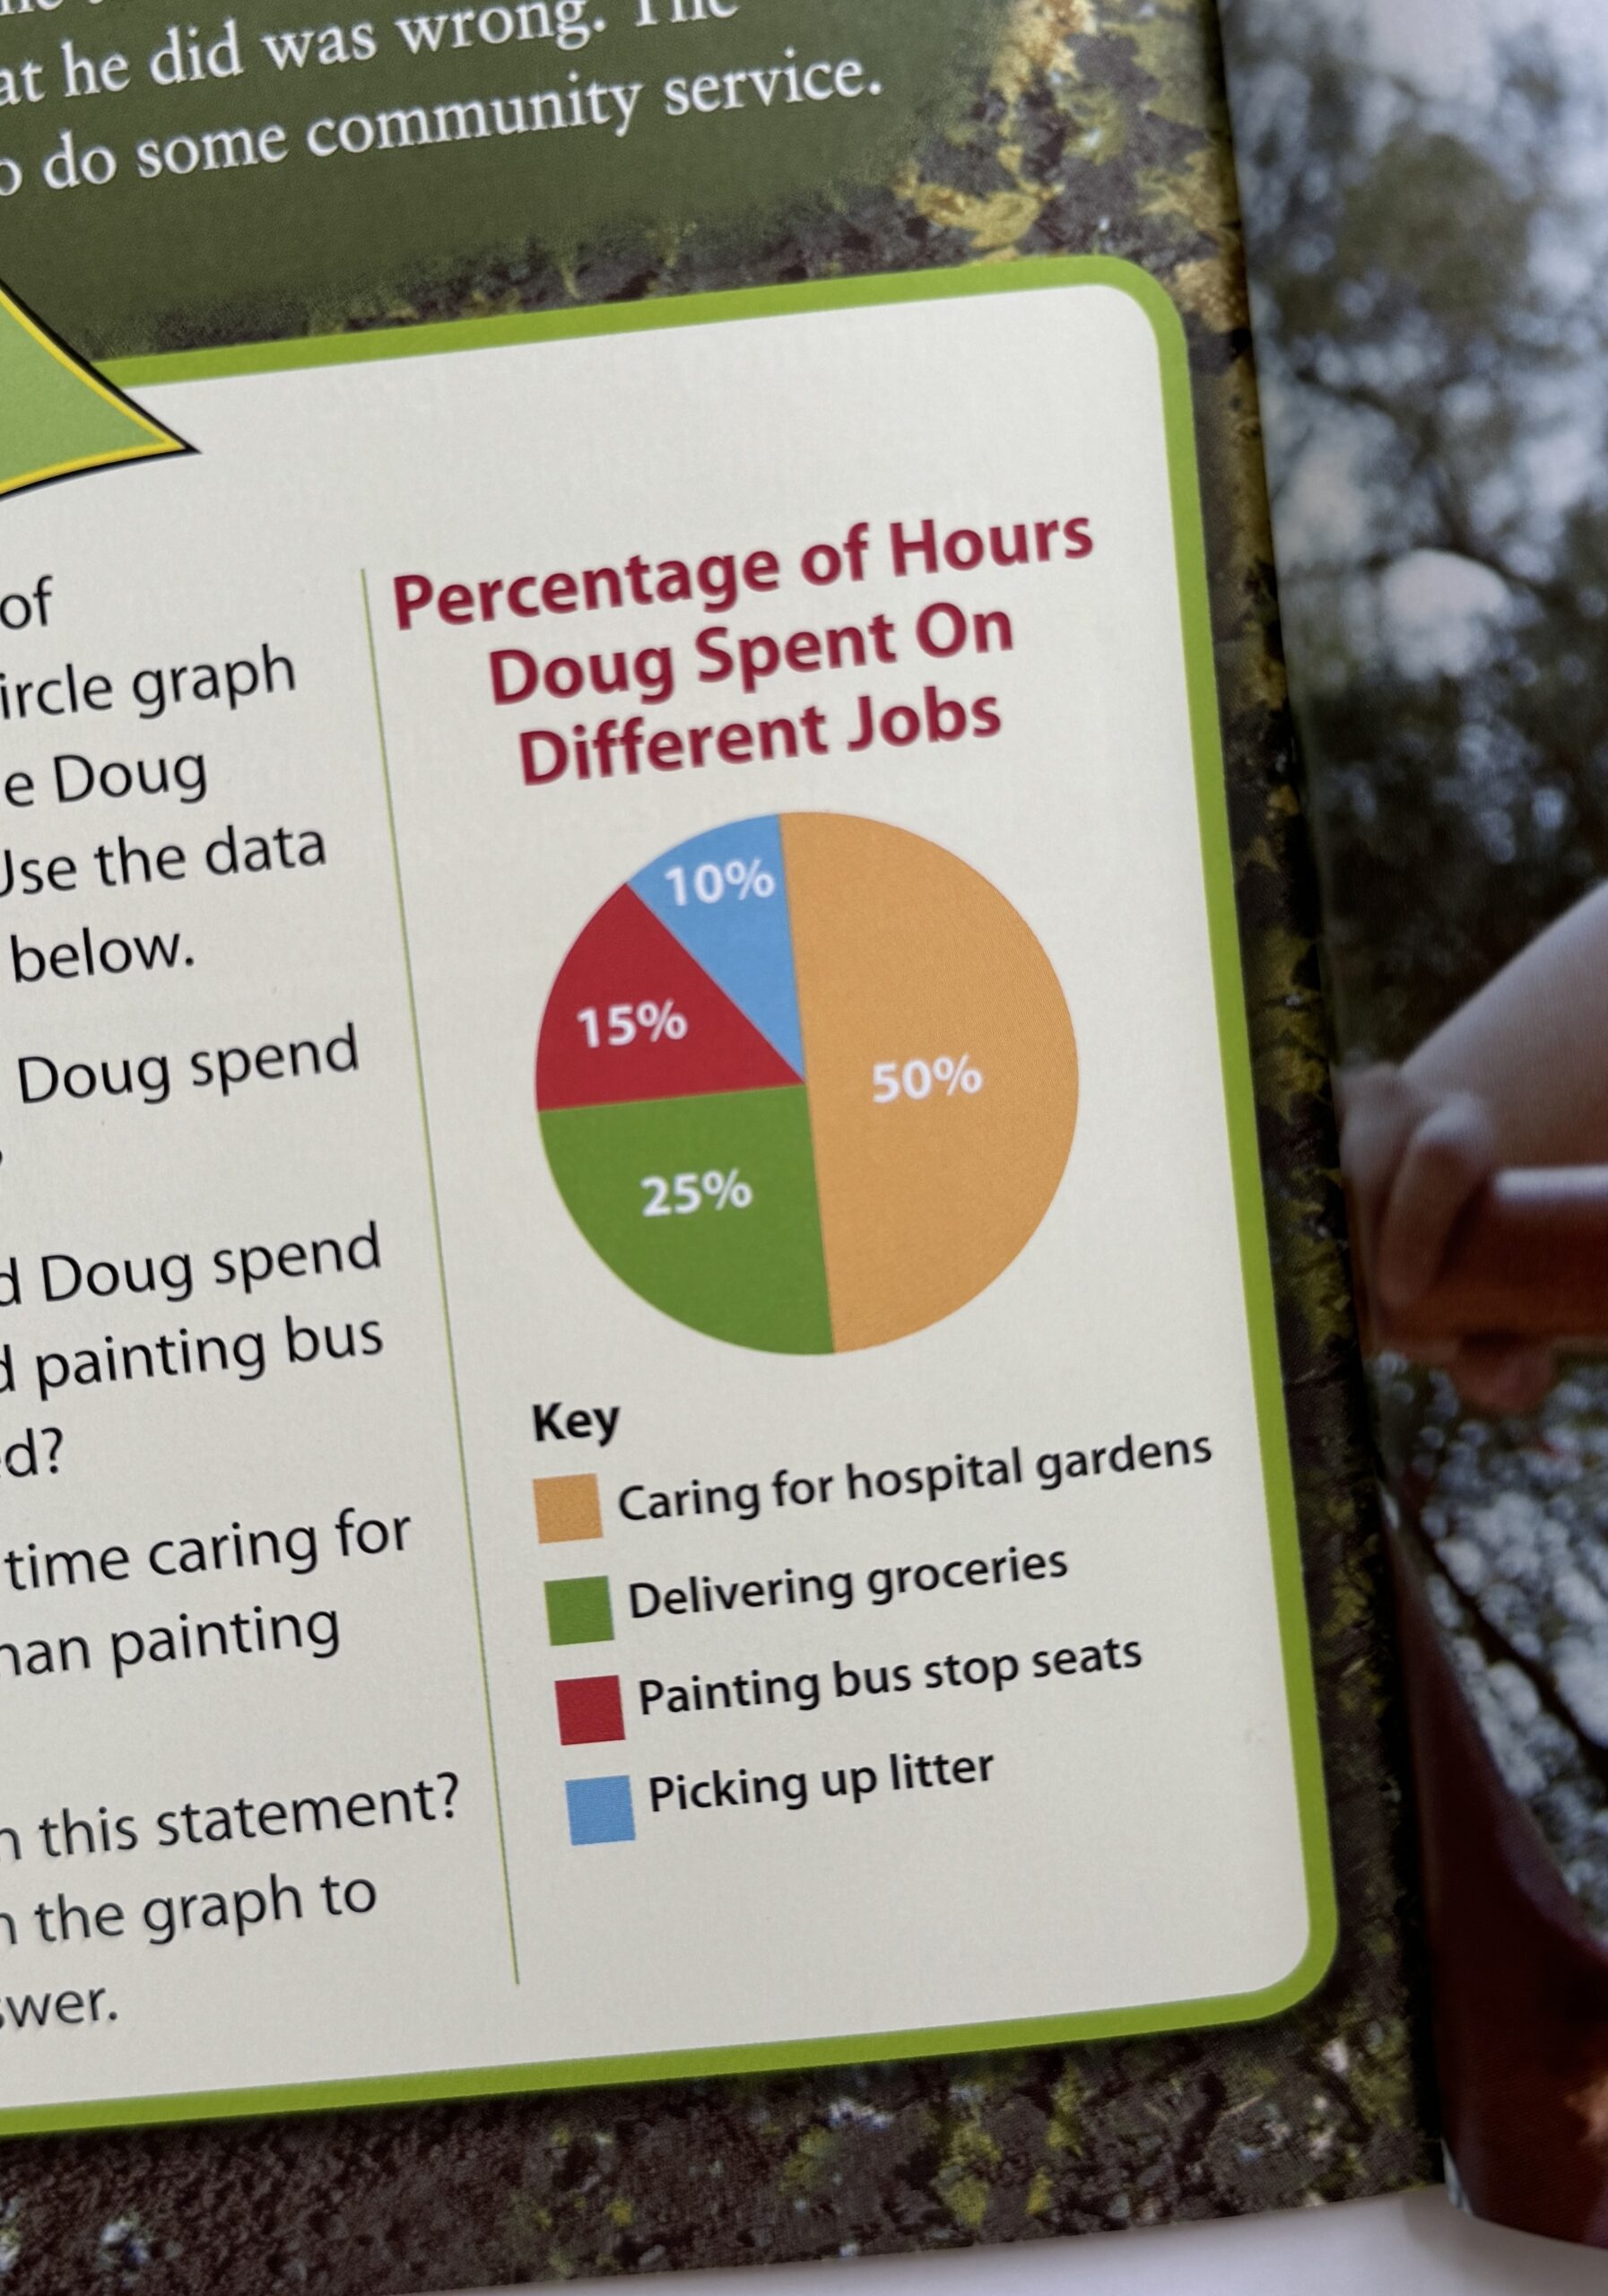
Charts and graphs are a way to show data related to something in the main body of text—and perhaps simplify it—and often show additional information, depending on the chart.
Maps
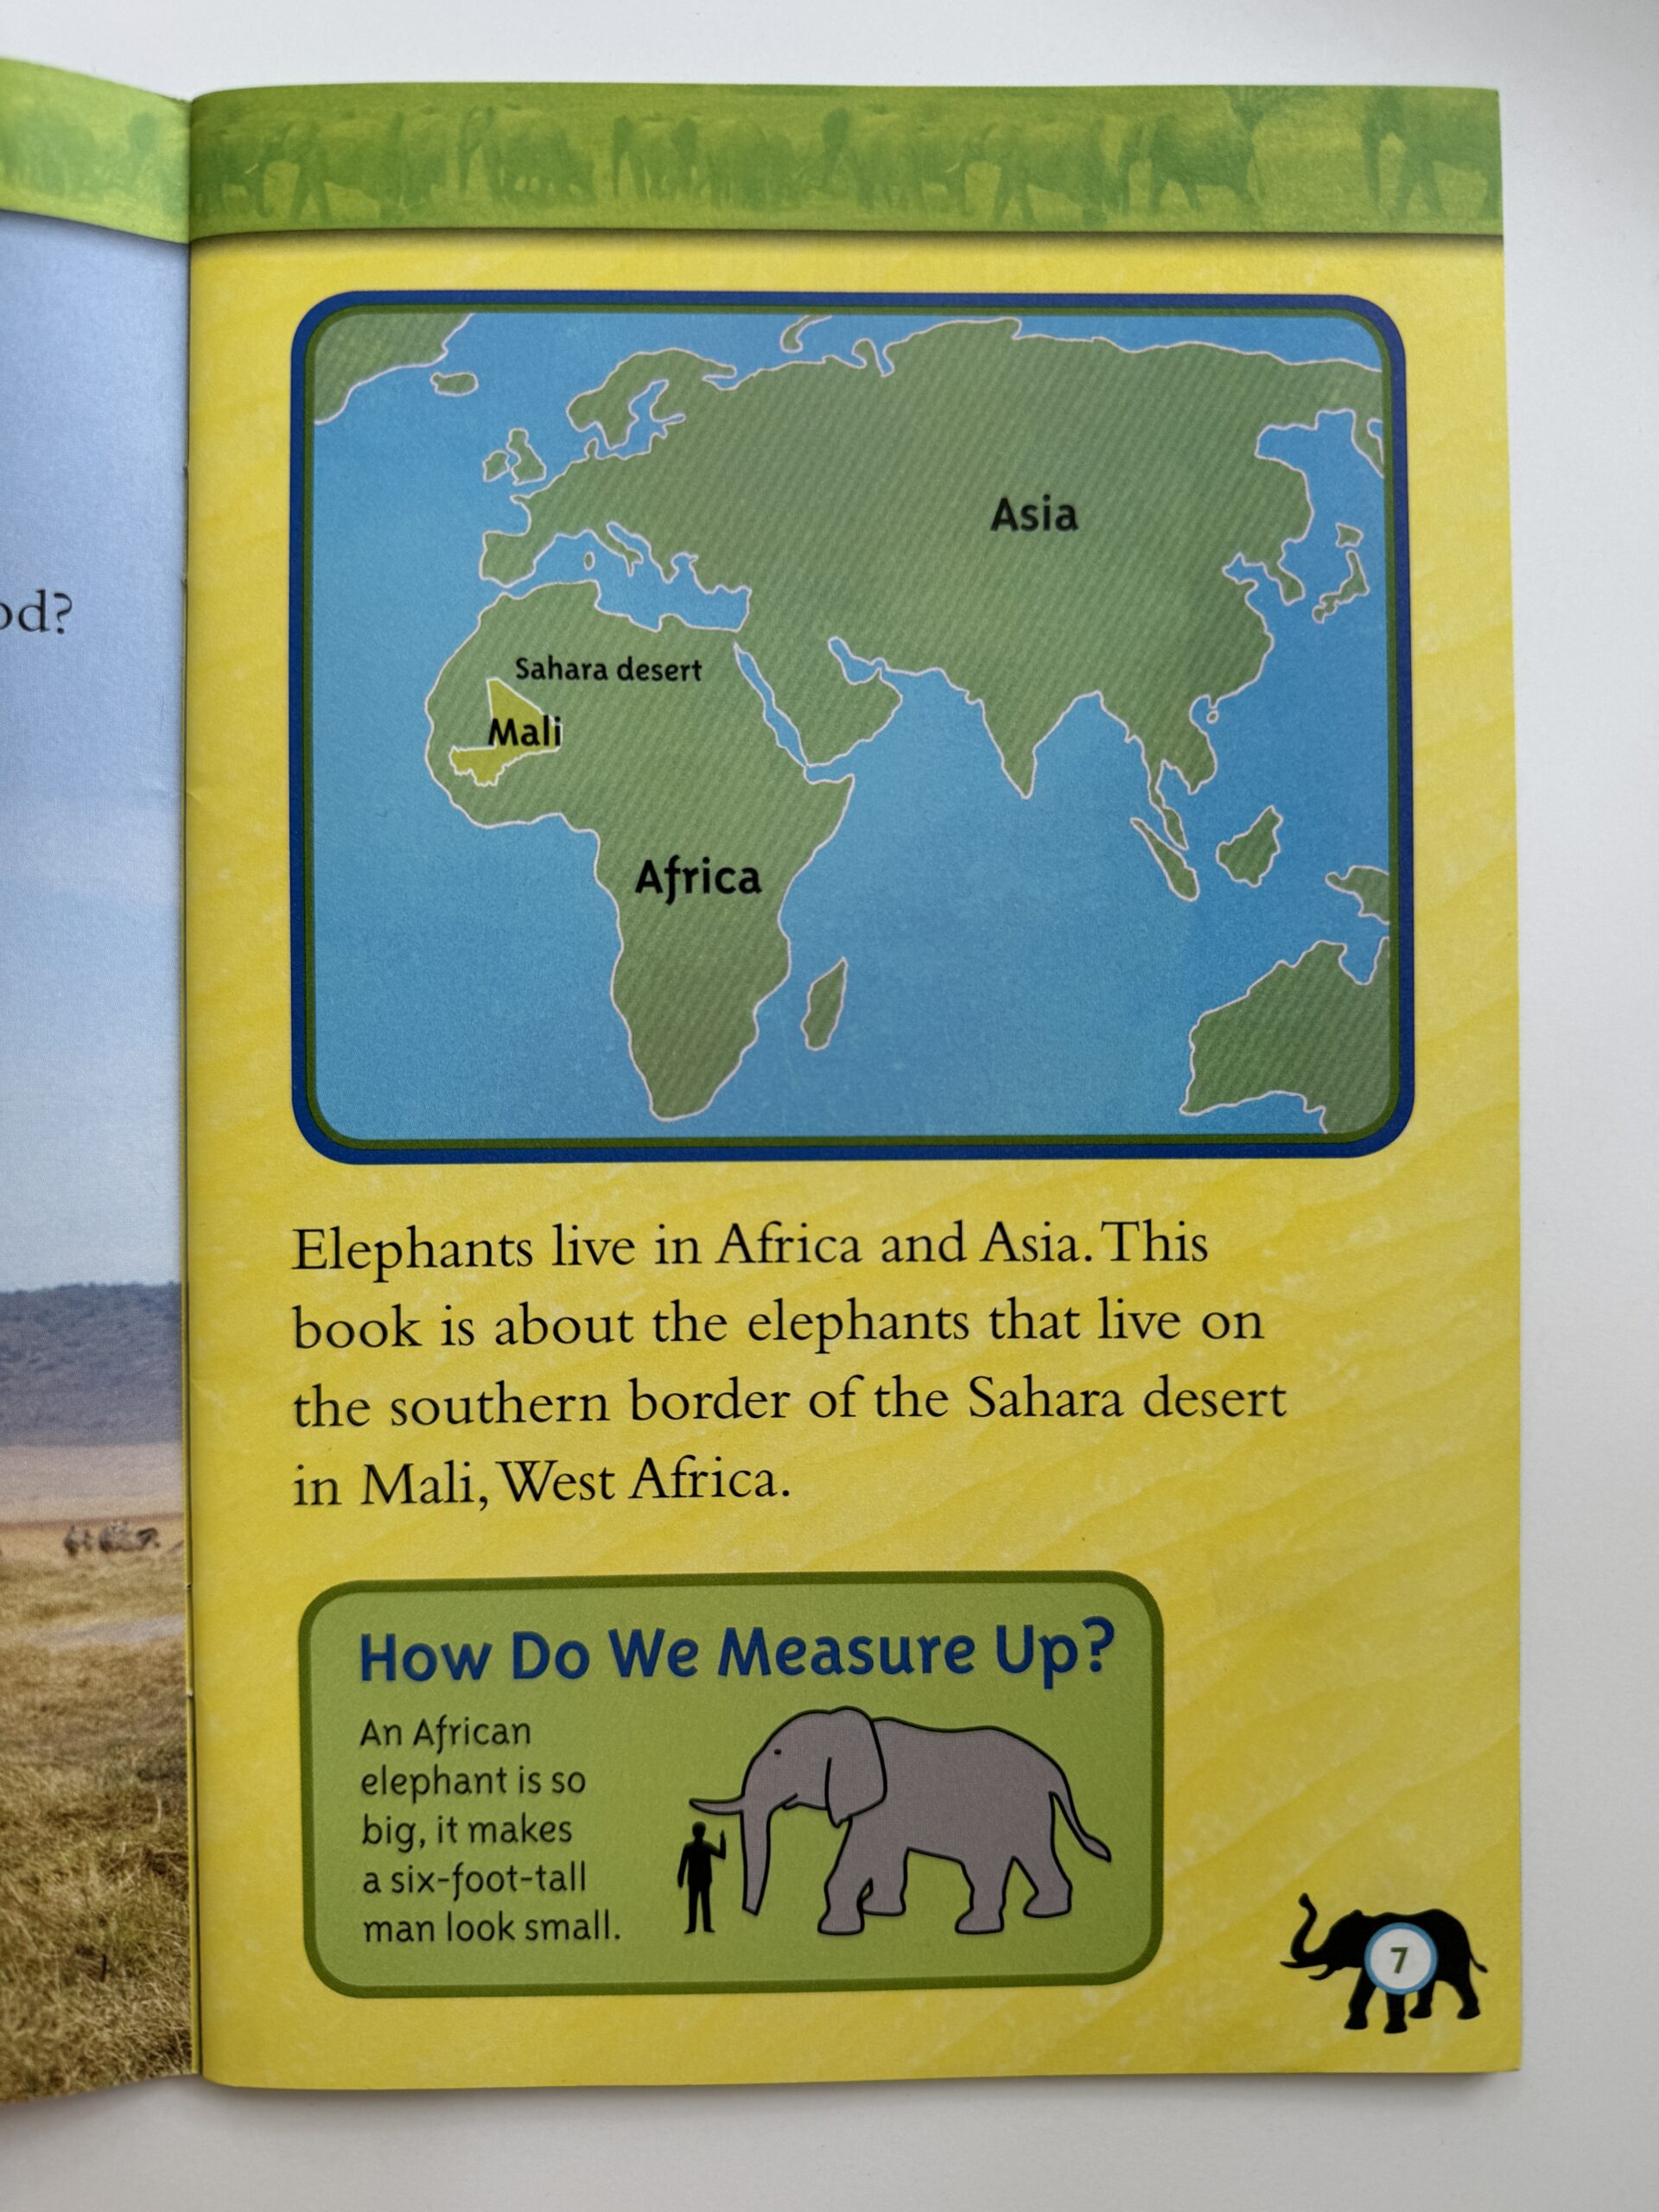
A map can help readers locate events in a location or period of time. A map of how the troops moved from one country to another during a historical battle would help readers visualize how the war was progressing.
Glossary
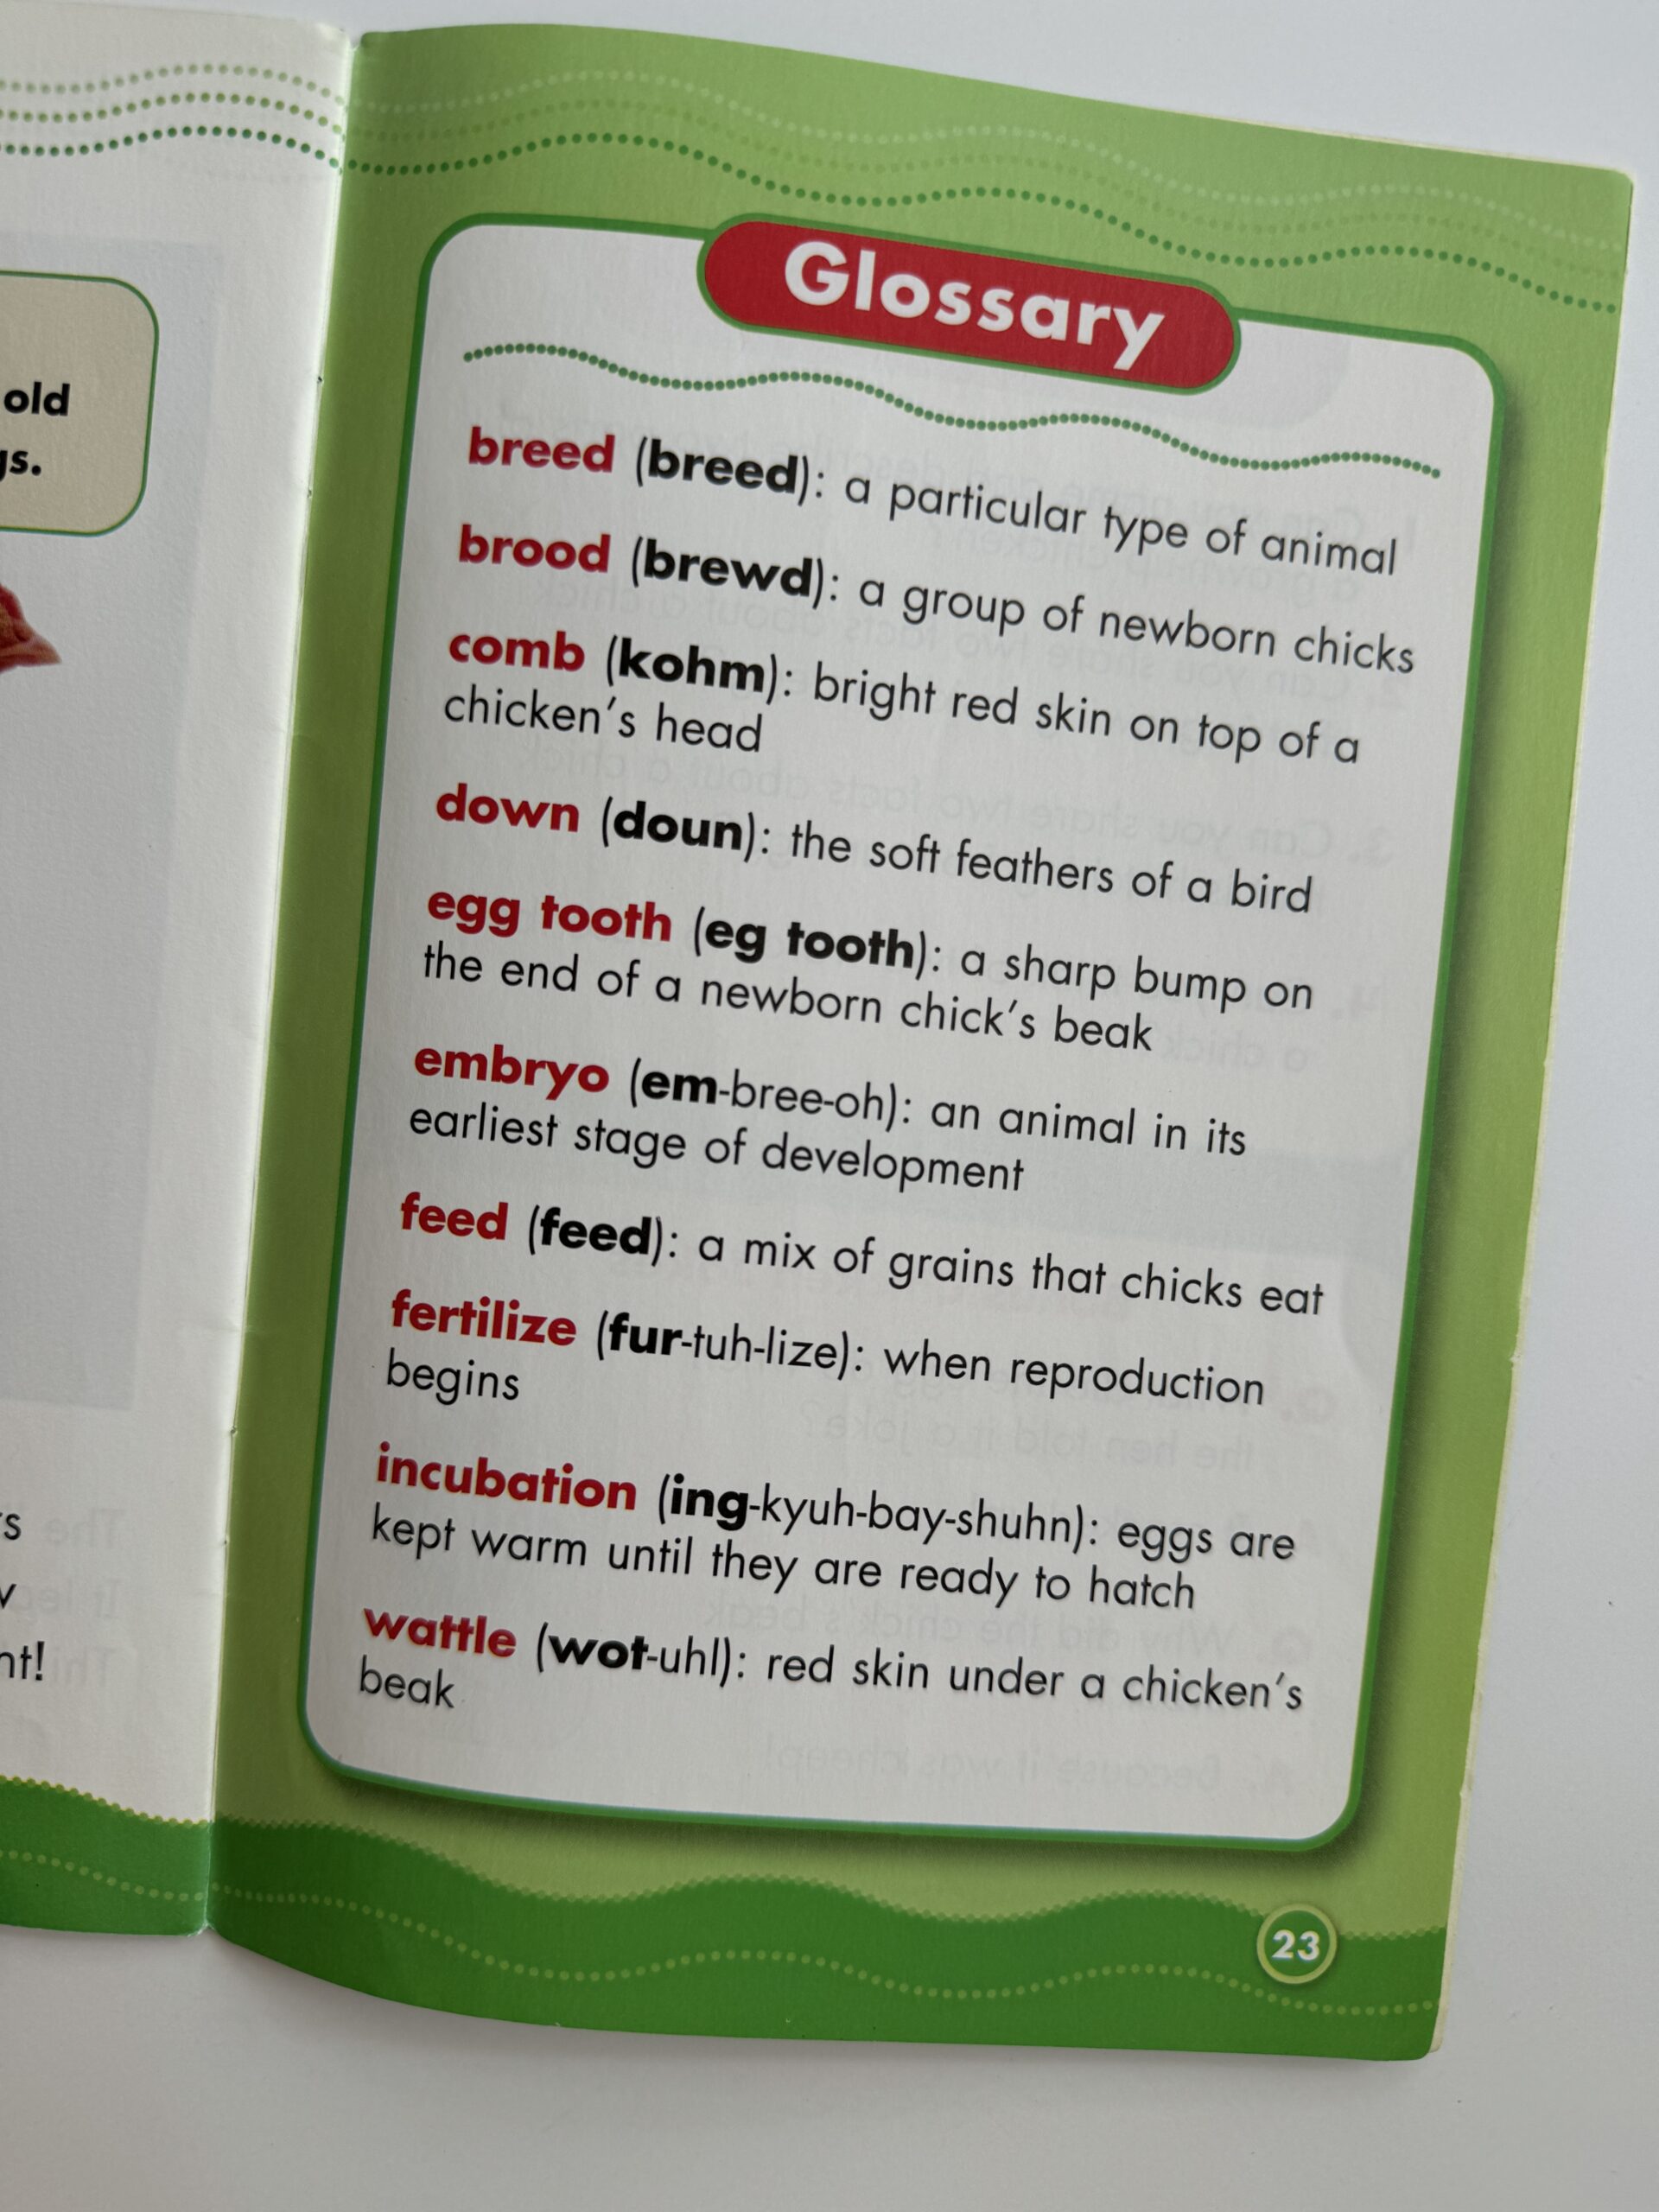
A glossary is at the end of a book and gives information about what’s included in the book through key words or concepts. A student can use a glossary to understand vocabulary—it’s like a mini book-specific dictionary.
Index
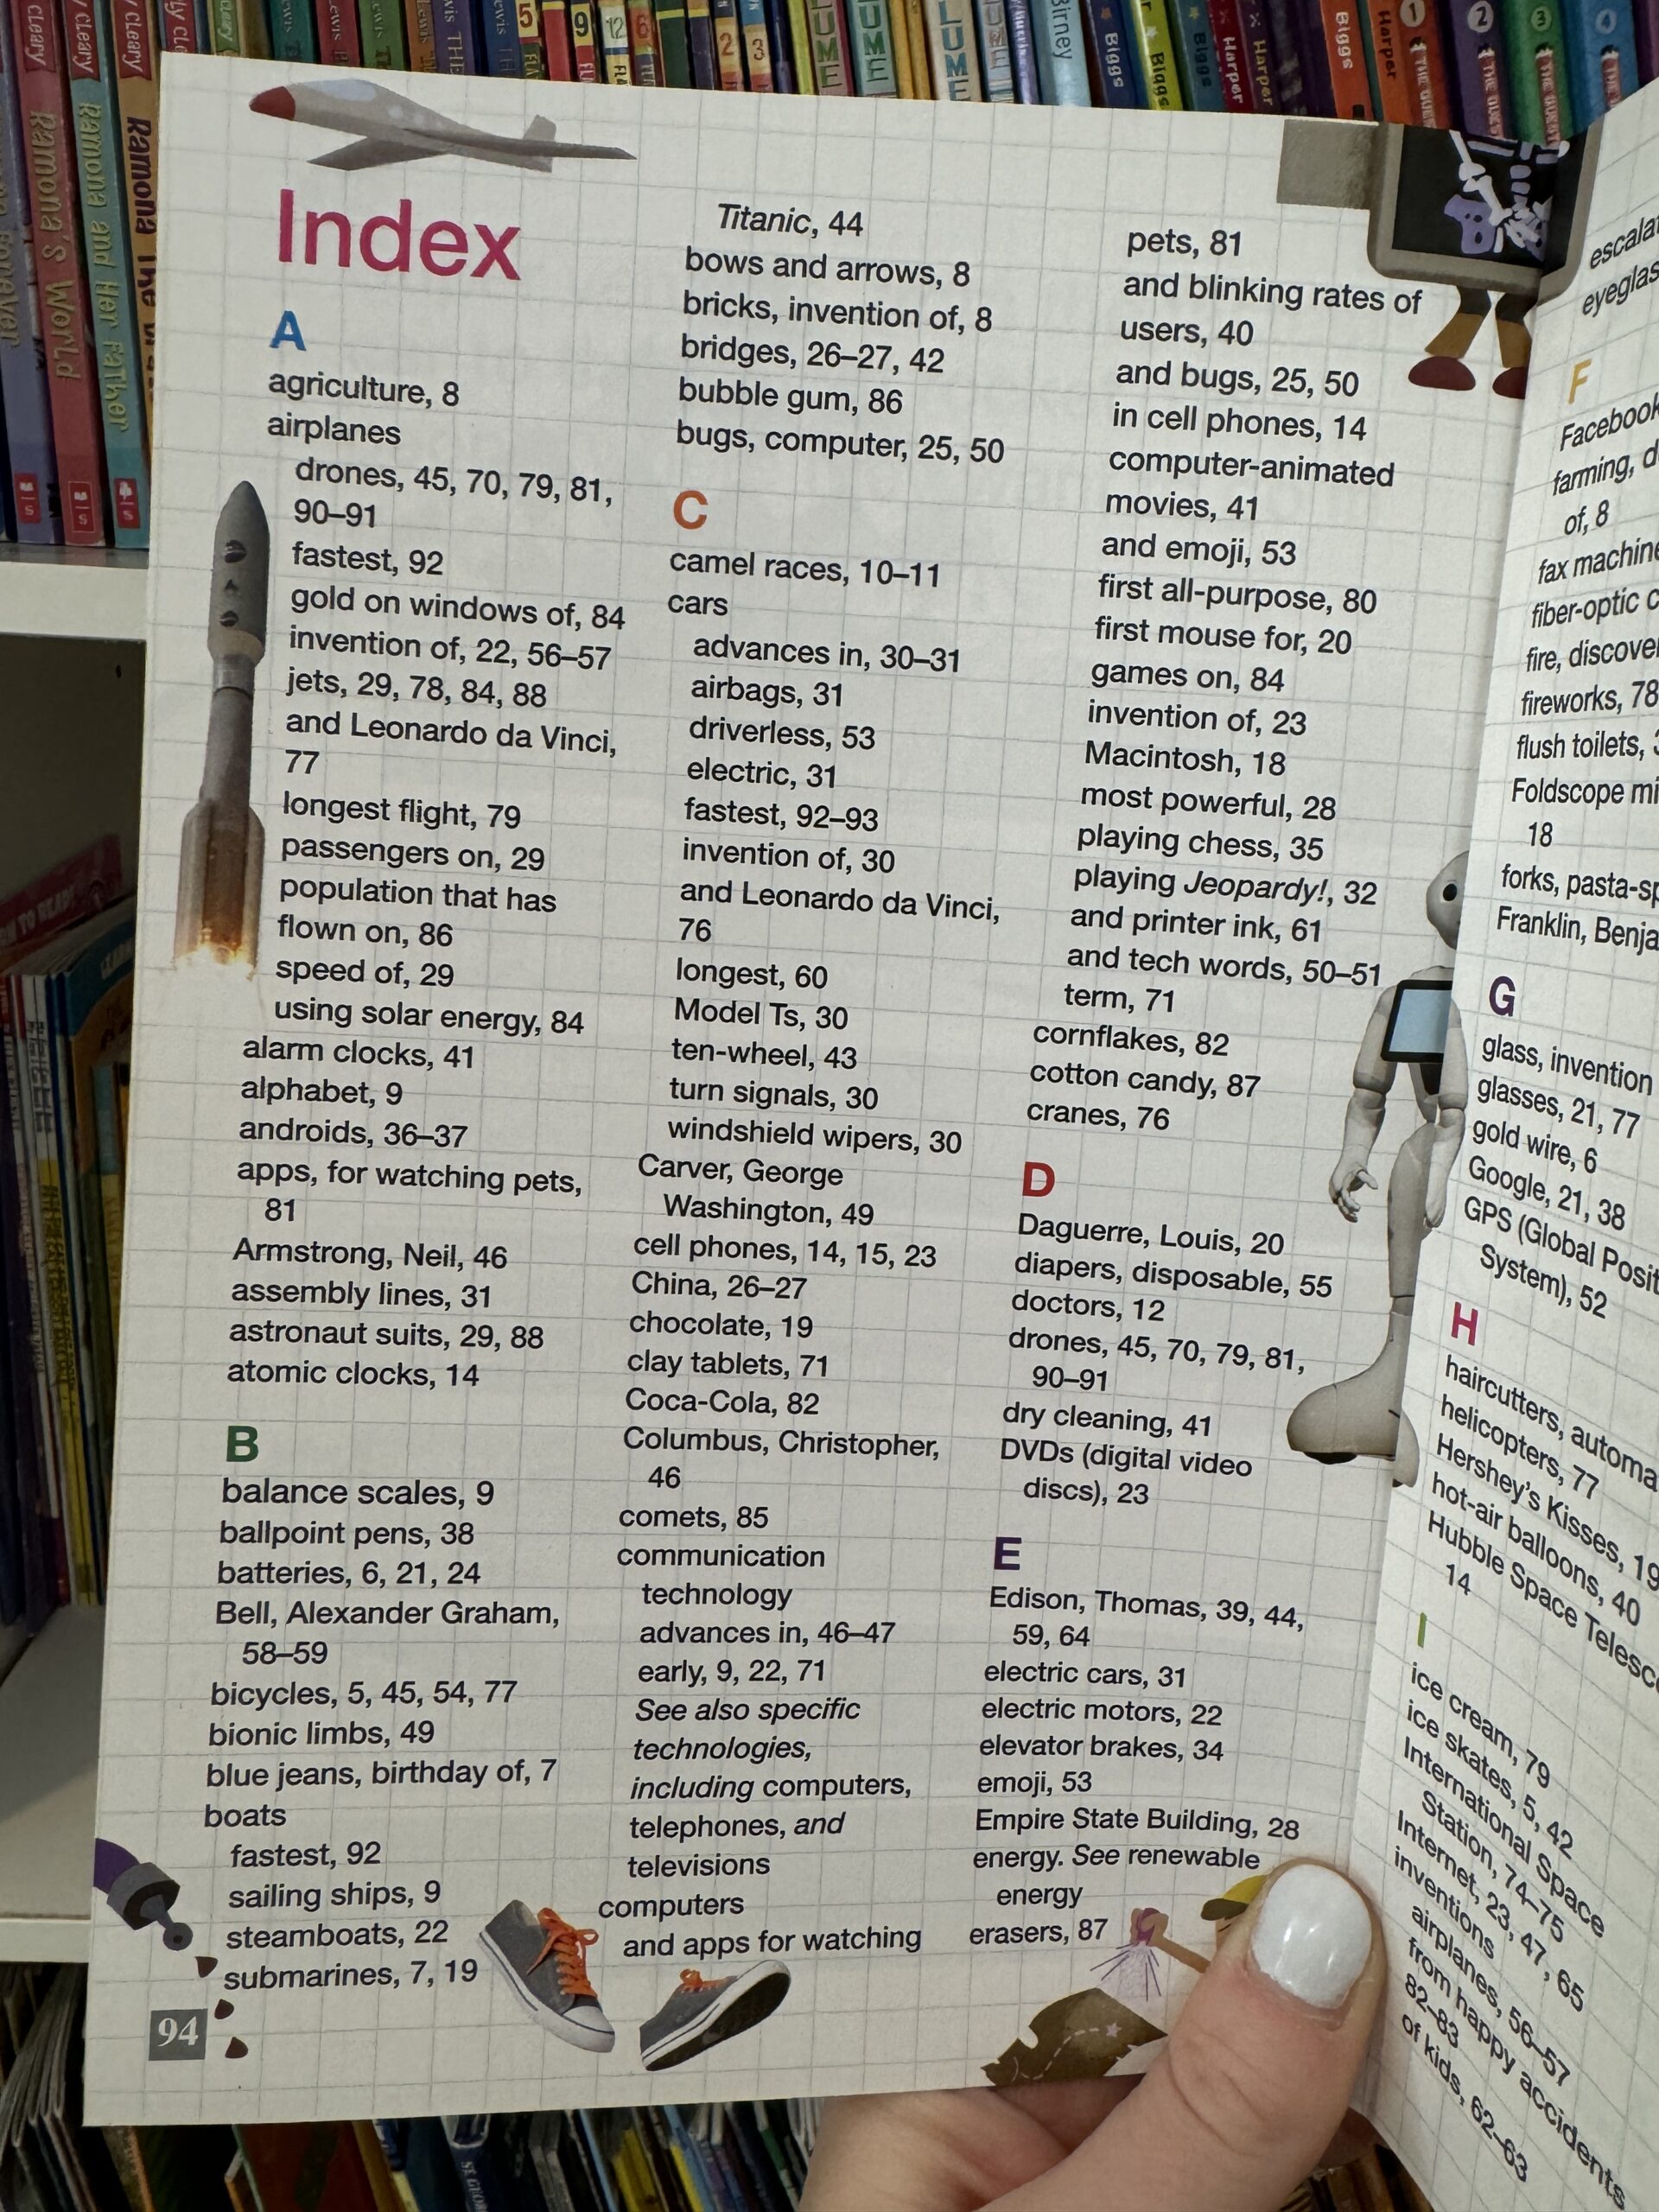
An index is also at the end of a text, but it has a list of topics that are included in the book and where to find each. So, if a student is working on a report about pandas but has a book about Chinese animals, the index is a good place to look for the pages where pandas are discussed.
How To Teach Text Features
Text features and how to use them is one of those literacy skills that students can quickly grasp, get good at, and use in any job they do in the future. Use this protocol before, during, and after reading:
Before reading
Show students text features in books you read aloud or use during small-group work and talk about them. Ask students:
- What are text features?
- Which examples have you already seen?
- Why do authors use text features?
When you start working with a text, define the main text features that you will be working with (focus on one or two at a time) and explain what each feature is and how to find it.
During reading
Make sure students have a copy of the text, or display it where all students can easily see it. Then:
- Think aloud. For example, when you get to a chart, talk about the information you learn and how it helps you understand the topic.
- Model how to approach the text feature when you come to it. Ask: What do you do when you see a sidebar? A chart?
- Then, have students read in pairs until they find the next text feature and discuss it.
After reading
When students work independently with a text that you started together or after they finish reading a text on their own, review and discuss:
- Which text features did you see?
- What information did they contain?
- How did the text features help you understand the information?
- Why do you think the author included these features and not others?
Additional Practice With Text Features
Here are six of our favorite ways to teach text features.
Text feature walk
It’s a picture walk, but for text features. Previewing a text in this way builds background knowledge that students then bring into the text to get more meaning from it when they’re reading.
How to do a text feature walk:
- Choose a text that students have some background knowledge on.
- Give students time to look for and name text features in what they are about to read.
- Have students make predictions, questions, and connections based on the text features they see.
- If there are new words, particularly words that students may not be able to pronounce yet, preview them and have students practice sounding them out before they see them in the text.
- After students have looked at the text features, have them read the text and talk about how the preview impacted their comprehension.
Watch this example:
Label text features
Give students a text and little sticky notes. Have them label the text features they see. You can do this lesson as a whole group first and then in small groups or individually. You can even use this as a check for understanding to make sure that students are able to name the key features in a text.
Create living anchor charts
If students are all working with the same text, especially for a longer text, post chart paper with the various text features they will see. Then, have students post a sticky note with the page number and why the author included that text feature for each example they come to.
Text feature scavenger hunt
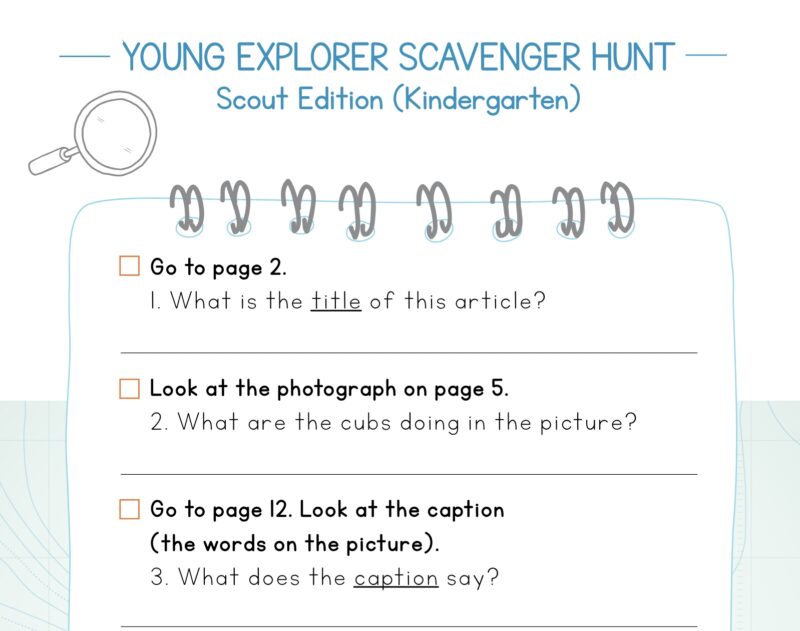
Give students a checklist of text features. Then, have students go through a text and check all the examples of text features they find. After they read, they can talk about which text features helped them understand the information. And talk about which were not included.
Learn more: Text Feature Scavenger Hunt for Grades K-6
Talk about the “why”
As you talk about text features in a text, also ask: Why did the author include this text feature? The idea is that each text feature adds something to the reader’s experience (a fun fact in a sidebar that makes readers laugh, a map that shows the topography of ancient Egypt, for example). This helps students connect text features to the bigger picture: reading comprehension.
Incorporate text features into writing
When students are assigned writing, have them incorporate one text feature. Even in a short exit ticket, students can add a sidebar about their opinion or a diagram to show what they learned.

